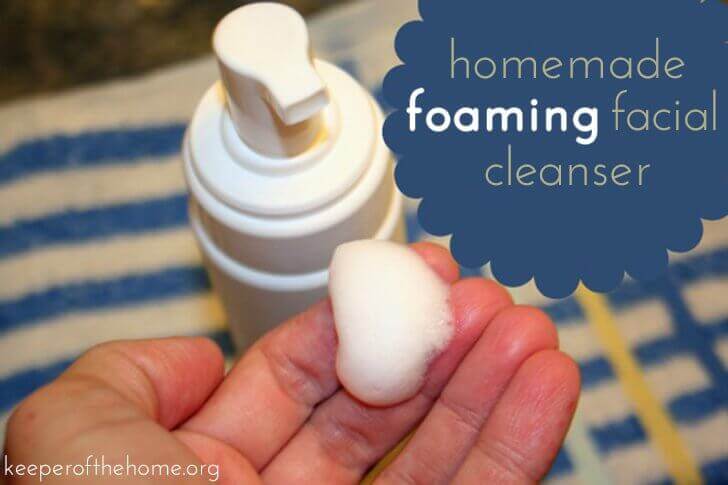
Homemade Foaming Facial Cleanser
When I clean my face, I want something that leaves it clean and soft, but I’m very leery of using conventional products that contain harsh chemicals.
I’ve been a fan of the Oil Cleansing method for a long time, but I have just one issue with it. I’m a lazy face washer. At the end of a long day, I buck at the idea of spending 4 to 5 minutes going through the process of getting my water really hot, steaming my face with the washcloths, and all that the method entails. I will say that it does a fabulous job, and so I wish I was more committed to it, but I’m just not.
Looking for something new, I tried a few foaming facial cleansers, made with very natural and pure ingredients. As soon as my skin adjusted, this seemed like the winning option for me.
However, I have this hang-up about paying $20 to $30 for a bottle of facial cleanser, which is generally what it costs for one made with ingredients that I approve of. Since I love making homemade goodness of all kinds, my hope was that it wouldn’t be too difficult to mimic these cleansers and make my own, and guess what? It wasn’t!
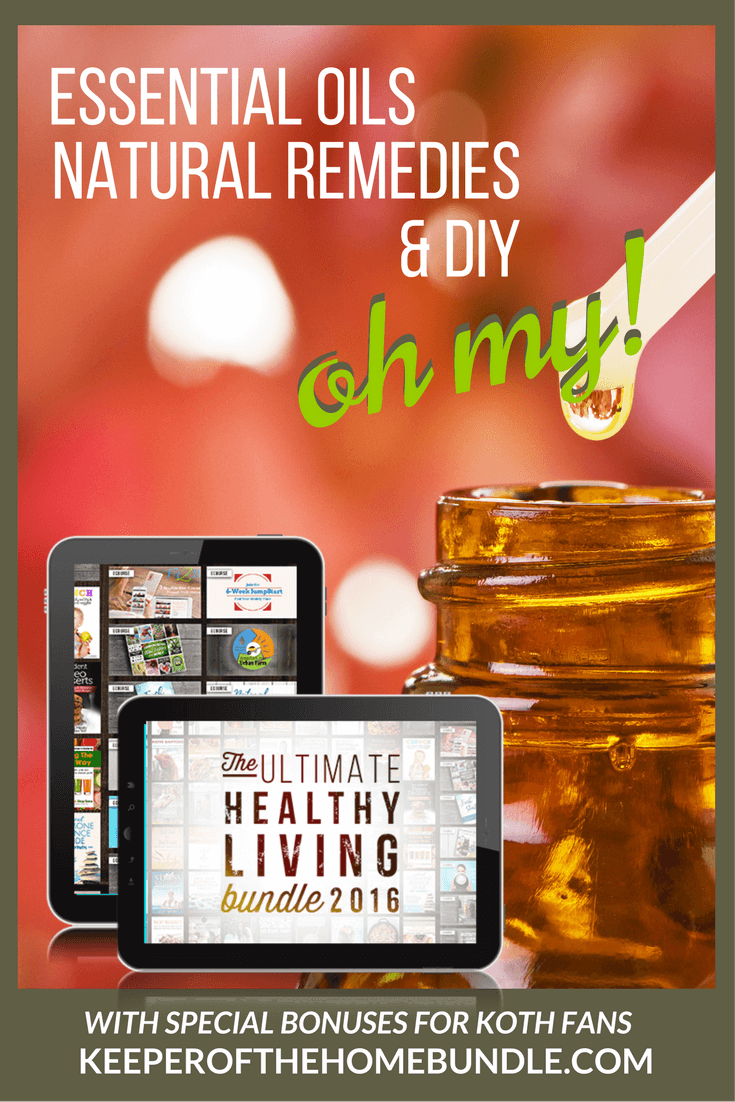
It’s also worth noting that you can find tons of uses for the ingredients I’m sharing here…and many of them are in the 2016 Ultimate Healthy Living Bundle. If you want to find ways to make more DIY natural items, be sure to check out the over $2400 in awesome resources available for under $30. Seriously.
What I like about my foaming facial cleanser
- It’s very quick and easy to use. A pump or two, rub it on my face for 30 seconds, then rinse.
- It takes make-up off with no problem.
- It leaves my skin feeling clean and soft.
- It only takes me a few minutes to make it.
- It’s very frugal!
I also like that I was able to make it with ingredients that anyone can source out. In fact, I could get all of these ingredients from my regular grocery story if I wanted to (between the pharmacy, beauty and food sections). I usually source them out from my food co-op or natural food stores, because I can find higher quality ingredients, but these are readily available nonetheless.
A few substitutions to note:
“Use what you have” is my mantra and this recipe is quite accommodating.
In place of:
- Dr. Bronner’s soap = use any liquid castile soap
- Almond oil = use jojoba oil, or even olive oil would work if that’s all you can find (but the other two are definitely preferable)
- Glycerin = if you can’t find food-grade glycerin at a local health or supplement store, try asking at a regular pharmacy. I found a small bottles of glycerin at my local pharmacy for just a couple dollars.
- Essential oils = if you don’t have them, or prefer not to use them, just leave them out. It works fine without the EOs.

The basic recipe
Homemade Foaming Facial Cleanser
Ingredients
Instructions
- Blend all ingredients, EXCEPT for the soap, in a blender. Why not add the soap yet? Well, if you did that, you'd create a whole. bunch. of. foam. Ask me how I know. (Aren't you glad you get to benefit from the finished method, instead of mucking around like I do?)
- Now smell it. See how you like it, if you want to add more essential oils, or different scents. Now is the time to do this, while you can still blend it up before adding in the soap.
- Lastly, add the soap and blend on low speed just long enough to mix everything together well.
- Carefully pour it in your bottle. If it still ended up a bit foamy, you might just want to let it settle before putting the lid on.
- Once the lid is on, pump it a few times to get the foam going. See how thick the foam is, try washing your face with it. At this point, you might be content with the foam texture, or you may want to thin it out slightly by adding a small bit of water. If you do add more water, don't blend it up again. Just slowly add some water to the container, put the lid on and gently mix it around a little (don't shake it!), then try pumping the foam again.
For essential oils, it’s important to remember that this is going on delicate skin, so go easy on the oils. I made mine with a blend called Liberty that includes grapefruit, bergamot, basil, and lemon. Grapefruit is astringent, lemon helps to revitalize skin, and basil is useful for acne (which I struggle with only mildly). Bergamot had no particular use for my skin, but it’s safe to use. I also added rosemary, which is common in many skincare products, and is helpful for dry skin. Plus, it all smelled good!
Those are just examples, though. There are so many different oils that you could use! To find ones that particularly suit your skins needs, check out these lists:
Essential oils recommended for various skin types
I will say that the first few times I washed with it, I felt like it dried my skin out slightly. I was worried that the whole thing would be a waste, but I kept using it for a few more days. After that, my skin adapted and that initial dryness has not returned in the 6 weeks I’ve used it.

I reused a foaming bottle from a previous foaming cleanser, so it’s a perfect size. If you can just reuse something, that’s obviously the easiest and cheapest way to go.
Don’t have any foaming bottles or pumps? I found a few online: this one goes on top of pint-sized mason jars, this one has a glass/metal container and looks slightly classier . These are also perfect for making your own foaming hand soap.
Most days, I use this foaming cleanser at night before bed (occasionally in the morning, but I often forget). After cleansing, I apply a couple spritzes of a lavender hydrosol for toning (here are some easy homemade toner recipes), then I use straight Argan oil (in the daytime) or a richer blend of oils in a facial serum before bed (it’s no longer being made, so I can’t link to it, but it includes argan, as well as jojoba, avocado oil, carrot seed oil, and a few others).
What does your skin care routine include?

Disclosure: This post includes affiliate links. Thank you for supporting our work and mission!
This post was originally published at Simple Homemade.

Just be careful with citrus oils; they’re phototoxic, so wear sunblock in the day if you wash your face in the morning
I’m lazy too….thankfully my face isn ‘t paying for it. Half the time I forget to take off my eye makeup from the day. Ooops. I’ve found the easiest way to cleanse is simply a bar of “kiss my face” soap which is olive oil based. Or if I’m in the shower I just use my normal bar soap which is something handmade. So, even easier. 🙂
I am so lazy I don’t even wash my make-up off. ::dodges lightning:: :o) I think this easy-peasy recipe may be a game changer, though!
I am wondering since oil and water do not mix well, what in this recipe counteracts that? In other words, how do these ingredients marry up?
Thank you for this recipe! I agree with you that the cost of skin care with approved ingredients is far too costly. I love being able to make your own at home for a much lower cost. I like how adaptable this recipe is. I, too, have the philosophy that you use what you have. Thanks for sharing this. Maybe it will inspire all of us to be a little more consistent with the face cleansing routine.
I also don’t like the time involved in oil cleansing, but it’s working pretty well for my acne-prone skin, so I keep doing it. However, one day I might just give up on oil cleansing and try this recipe. Thanks!
I have been searching for a foaming face wash since the brand I was using has been discontinued. My face is not happy with this at all and now I have resorted back to wanting to create my own foam cleasning wash. This is a great recipe and I think I might have to give it a whirl. I can also copy parts of the brand’s recipe with the E.O.’s that was used. I found this blog post super helpful!
Hi! I did it yesterday! Followed your recepie and the result is wow! Thank you!
Hello! I’m so late in discovering this! What if I was to add a preservative to this wash? Which one would be ideal?
check out Brambleberry.com for their suggestions
Hi, thnaks for sharing this. Can you substitute the glycerin with something else? I’m thinking beewax maybe?
Just made this, but I used hemp oil because it’s what I had on hand with rosemary and lavender. I LOVE how smooth it is on your skin! Thanks for posting. I just bought a bottle of a dial foaming soap and dumped it out to steal the bottle, haha!
I suffer from Blepharitis (eyelid condition) and have to use a tea tree foaming cleanser on my eyelids nightly. It is very costly. I am wondering would the above recipe be okay to use on the eyelids? If not, do you have another recipe that might be more appropriate for this area of the face? Thank you for your education on this topic.
How many oz of cleanser does this make?