How to Make an Herbal Tincture #DIYFriday
Note from Ann: Like Stephanie, I have been planning to do the whole DIY tincture thing for some time. Unlike Stephanie, it just hasn’t happened yet for me! I use tinctures: right now I have two that I take daily for edema and I can attest to both their effectiveness and high cost. This great DIY tutorial showing how to make an herbal tincture gives me a new appreciation for the cost, though, kind of like making ghee. You can see for yourself that it is super easy to do, but also appreciate the value of a store-bought tincture! I think I’ll give it a try 🙂
* * *
Herbal tinctures have been on my “learn to make” list for a long time.
Just over a month ago, I got inspired and tried it for the first time. The process was far easier and more straightforward than I ever imagined it would be, and I’m only sorry I waited so long to try.
What is a tincture?
Shoshanna from Bulk Herb Store defines a tincture this way in her book Making Babies:
Tinctures are medicinal extracts in a liquid such as alcohol, glycerin, vinegar, or honey. In a tincture, an herb is broken down into the liquid by heat, alcohol or fermentation.
Basically, you’re taking a whole lot of herbs, transferring all of their medicinal and nutritional qualities to your liquid of choice, so that you wind up with a very concentrated herbal extract. Now you can get a lot of good stuff in a very small dose.
Which herbs should you use?
It all depends on what you want your tincture to do. There are endless types of tinctures that can be made for different purposes (for strengthening the liver, for helping you sleep better, for fighting infections or viruses, etc.).
This particular one that I made was intended to be a vitamin and mineral supplement for me, to ensure that I and my nursing baby have all the nutrients we need. I’m of the school of thought that tends to think that we should get our nutrition primarily from eating a high-quality, whole foods diet, BUT I also admit that it can be a struggle to find food sources that are as ideal as we’d like them to be. Soil depletion is a huge issue, our bodies daily battle more toxins than ever before in history, and so sometimes I think that giving ourselves a nutrient boost in addition to what we eat is just a good idea.
I based my tincture on Shoshanna’s “My Vitamin Tincture” recipe from her Making Babies series. (Here’s a link to my review of that series.) I didn’t have all of the ingredients, though, and I wanted to include a few others that I thought were important, so I also used some herbs listed in her “Vitamin B Tincture”, as well as the “Iron Infusion.”
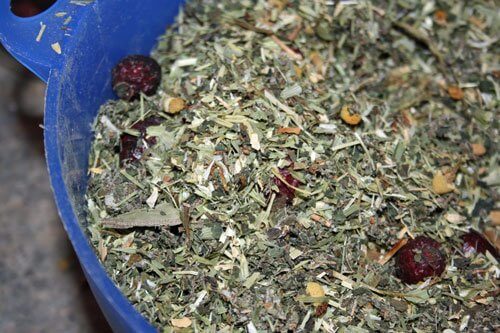
Here’s what mine included:
- 2 cups red raspberry leaf – magnesium, calcium, iron and other minerals, plus vitamins C, E, A and B complex
- 1 cup rosehips (I wildcrafted these from my yard last fall and dehydrated them for medicinal use) – vitamin C, bioflavanoids, fighting stress and infection
- 3/4 cup dandelion leaves (again, from my yard last year) – high in vitamins and minerals, especially iron and calcium.
- 1 cup chamomile flowers – good for nerves, digestion and circulation
- 2 cups oat straw – particularly high in minerals, especially magnesium and calcium
- 2 cups nettle – chlorophyll, vitamins C and A, minerals (calcium, silicon, potassium)
- 5 Tbsp burdock – minerals including chromium, copper, iron and magnesium, also a tonic and blood purifier (note that in larger amounts and particularly when used by itself, this can be more strongly detoxifying, which is why it’s used only in a small amount and together with other herbs here- as a nursing mom, detoxifying isn’t my goal)
- 1/2 cup catnip – soothing and calming to the body and it’s systems
If I could have added one more herb, it would have been alfalfa, since it is extremely high in vitamins, minerals, amino acids and chlorophyll. I didn’t have any on hand and my local health food store didn’t carry it. I was too eager to start making my tincture, so I went without this time around.
It needs to be said that this is just what I chose to use, and not necessarily a recipe for anyone else. The main reason for posting this is to give you a pictorial tutorial of the tincture-making process, not to tell you exactly how to make a specific tincture. I chose these herbs based on some of Shoshanna’s tincture recipes, as well as my own personal knowledge and study of herbs, so this is what I felt comfortable with.
I would advise you to really research the particular herbs yourself or find a recipe from a respected herbalist (and no, I’m not a herbalist!) before deciding what to put in your own tinctures. Herbs, natural as they may be, still have very real effects on the body and must be used with careful, educated discretion!
How to Make an Herbal Tincture
Step 1
Decide on your herbs and amounts, and mix everything into a bowl until all herbs are well distributed.
Step 2
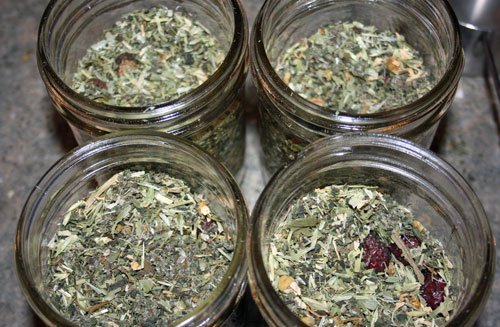
Scoop your dry herb mixture into as many clean, dry mason jars as necessary. I had no idea how many I would need when I started mixing it all up. For me, 4 pint jars ended up being the magic number.
I filled each just a little over 3/4 full. I wanted to leave room for the liquid that I would be adding, and for the herbs to absorb liquid and expand.
Step 3
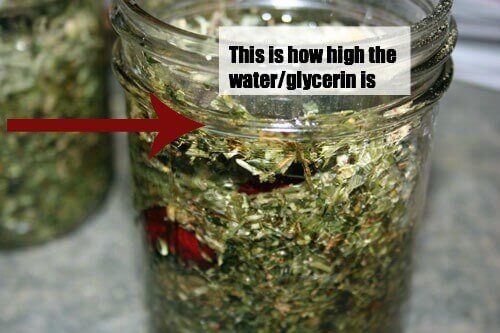
Fill your herb jar about 40% full with hot water (don’t consider the top 1-2 inches part of the jar- fill it up to 40% of the jar minus that top inch).
Then, fill it up the rest of the way with food grade glycerin (again, leaving 1-2 inches at the top).
If you’re wondering how much glycerin you’ll need, I used almost one 16 oz. bottle to make my 4 jars. So probably about 3 1/2 oz. per pint jar, or just over 100 ml each.
Add lids and screw them on tightly.
Step 4
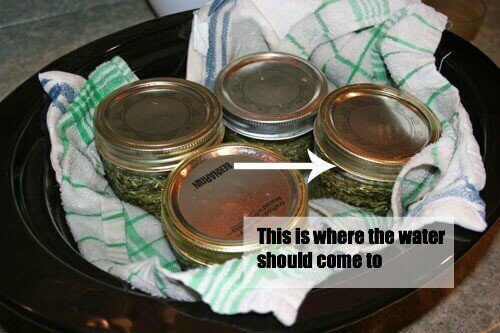
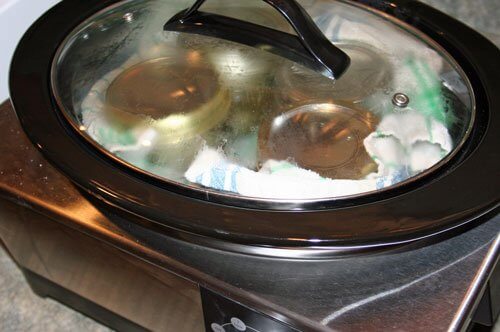
Add a towel or two to the bottom of your crockpot. This is so that the jars won’t break on the hot crockpot dish.
Then, fill the crockpot up with water to the top of the jar, but not actually touching or covering the lid.
Step 5
Turn the crockpot on low. Then walk away.
Wait very. very. very patiently. For 3 whole days.
Check in on your crockpot once or twice a day. Make sure the water is keeping your jars nice and hot, but that they aren’t boiling. If too much water evaporates and the level in the crockpot gets low, top it back up to where it should be. Other than that, just let it do the work for you.
Step 6
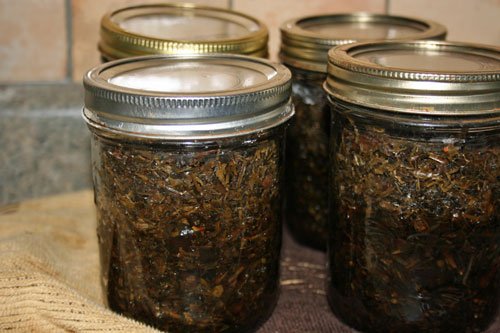
Remove your finished jars and let them cool off on the counter.
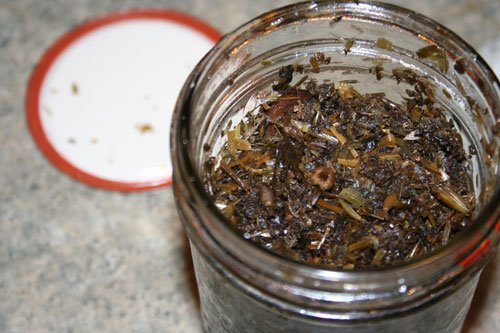
When you open them, this is what they might look like. The herbs have all been thoroughly “cooked” and everything looks dark brown.
I actually panicked slightly when I got to this step, because it looked like there was hardly any liquid left in the jars at all. I worried that I had kept things too hot or that the liquid had all evaporated.
Neither of those things were true. What happened is that the liquid was absorbed into the herbs (and yes, a small amount evaporated as well, I’m sure). When I strained them, I discovered that there was still plenty of liquid, even if I couldn’t see it.
Step 7
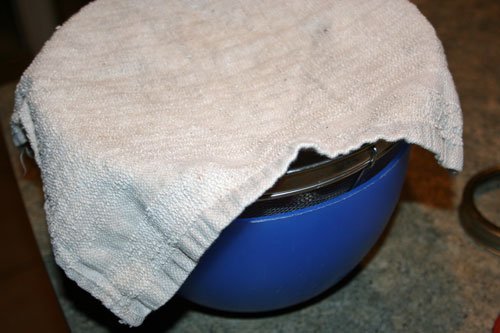
Set up a strainer/colander of some sort, with a clean cheese cloth or even an old cut-up piece of tee shirt for straining the herbs.
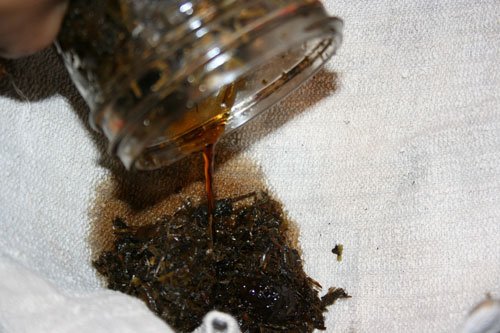
Dump the entire contents of each jar onto the cloth/fabric.
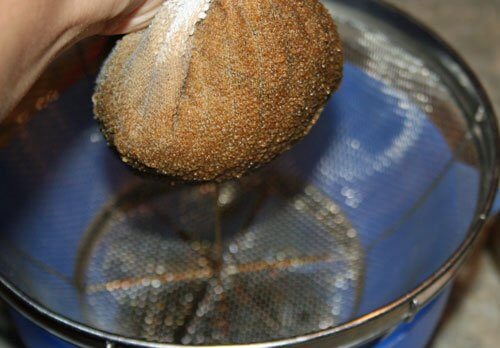
Then, pull the ends of the cloth together and squeeze.
You’ll need to squeeze quite a bit, because you want to extract every last drop of tincture out of the herbs. Once I began to do this, I was relieved to see how much liquid was actually still there.
Note: Don’t be as impatient as I was. I barely let my jars cool for 30 minutes on the counter (remember – they’ve been in a hot crockpot for 3 days!). When I had to start using my hands to squeeze the liquid out of the still-hot herbs, my daughter came in to see why I kept yelping “ouch! hot! ouch! I should have waited!”
(Did this stop me? No. Insane woman that I am, I kept right on squeezing and straining and burning my hands. I just had to see my finished product!)
Step 8
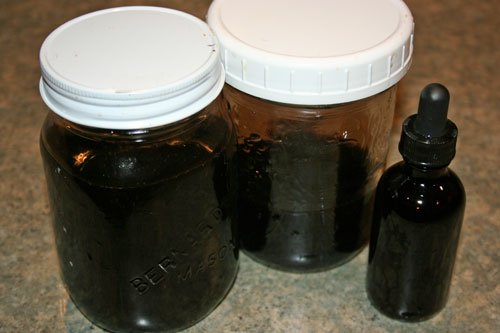
After straining, compost the used herbs, and pour the liquid tincture into glass jars for storage.
You can see that my 4 pint jars of dry herbs yielded about 1 1/2 pints of tincture or 24 oz. I transferred some of it into an old stevia bottle that I had saved and cleaned out for this purpose. You can buy tincture jars here.
I wanted to calculate how much I spent to make this much, but it was really difficult to know, since I had bought some herbs from one place and some from another, and I couldn’t remember exactly what I paid for them. I guesstimate that the total cost was about $20-$25 which includes having spent way too much on the glycerin because I was too impatient to wait for my bulk order to arrive (if I had waited, my cost would have been more like $15-$18 maybe).
Of course, that’s the cost when I break down each package by how much a cup or this or two cups of that would cost. For those who are having to start from scratch and buy everything upfront, the cost will seem high initially, but if you break it down to how much you actually use for each batch, you’ll see that this is a frugal way to go.
It’s not uncommon to pay a good $10-$20 for a small 2 oz. bottle of high quality tincture, so you can see how much money this could save you! I will definitely be doing this for my own vitamin/mineral supplements from now on, as well as making an immune boosting (echinacea, goldenseal, and probably a few other things) tincture for our family to use when we get sick.
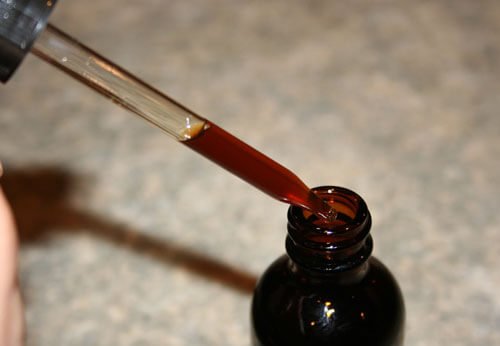
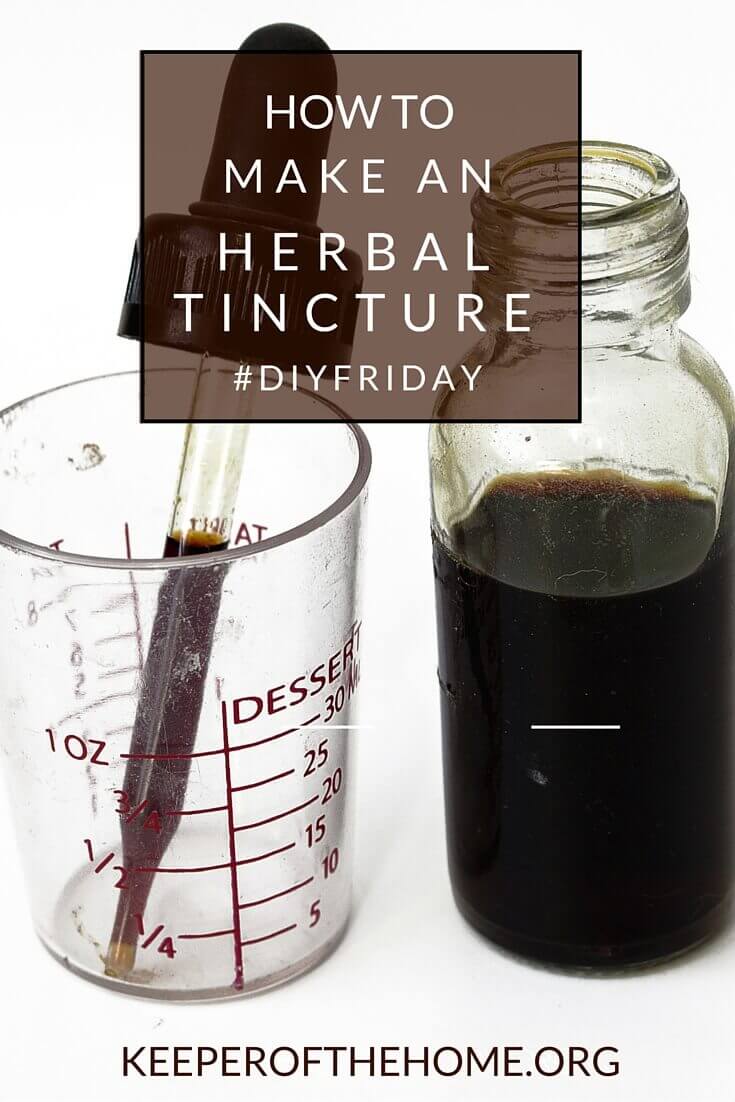
One dropper full of my lovely, dark brown, somewhat sweet tincture. I take 1 or 2 of these droppers twice each day.
The taste is very pleasant and the glycerin content isn’t too high that it becomes sickeningly sweet. I don’t mind taking it at all.
I just love how versatile herbs are and I continue to be grateful and amazed by the healing and nourishing qualities that God has put into them!
Have you ever made a vitamin and mineral tincture?

love this site. Thank you
Just ran across this site and loved the efforts being made to help people gain a better awareness of how to make Tincture . Thanks