Holiday Card Making with Kids Using Recycled and Re-Purposed Materials
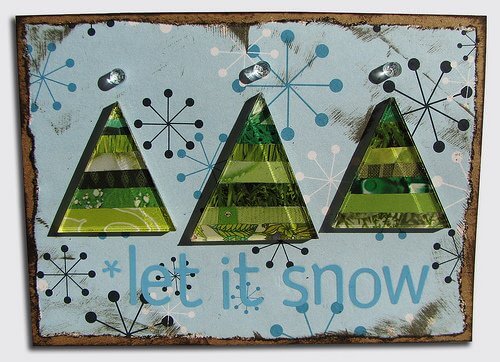
Written by Stacy Karen, Contributing Writer
It never ceases to amaze me just how much joy a simple act of kindness can bring. A thoughtful card often takes very little effort, yet provides so much encouragement.
Taking the time to create something for another helps build character in our kids. It trains their mind and heart to pay attention to the needs of others.
While anytime is a good time for card making, the holiday season provides a perfect excuse for creating heartfelt treasures to share. It doesn’t have to be expensive or complicated; in fact, it is quite possible to make cards in a simple, green, and frugal way.
Below is a picture of a few cards my family made to give during Thanksgiving.
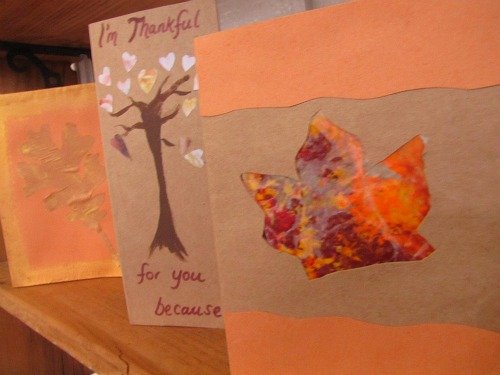
These were made from a thin box (food packaging), a paper grocery sack, crayon shavings, a magazine, wax paper, parchment paper (used and wiped clean), glue, marker, and paint. All items we had on hand.
And here are a few Christmas cards made from construction paper, paint, newspaper, an old Christmas card, a cardboard box, raffia, and a button:
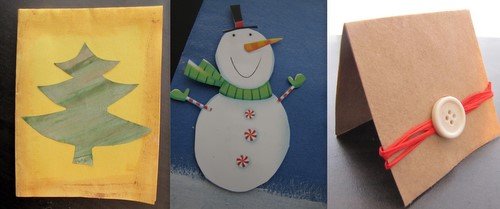
To make the above cards (and a few others), we filled our kitchen table with anything we could find around the house that might be useful. The kids thoroughly enjoyed themselves, but it took me a while to come up with anything good.
In case you’re like me, and it takes some time for your brain to make sense of all the odds and ends, here are a few tips I learned from our two-day card fest (I told you it took me a while to come up with anything good)!
Tips for frugal and green card making with kids:
A few days before you plan to make cards, designate a box or container to house materials. Throw in anything that might be useful: paper scraps, fabric scraps, food packaging, envelopes, calendars, and so on. Anything goes. Be creative and think outside the box.
What to use for the card part of the card:
- Paper grocery sacks
- Used file folders
- Thin boxes (such as cereal boxes, cracker boxes, some mailing boxes, thick envelopes)
- Construction paper
- Computer paper that has been used on one side (glue printed pages together).
What to use for embellishments (or what to decorate the card with):
The possibilities are endless. Definitely dig around in the back of the craft closet and use up the leftover craft supplies. Surely there’s some glitter hiding in there!
- Parchment paper
- Scrap paper
- Scrap fabric
- Old clothing that can be cut up
- Buttons (we all have a collection of them somewhere!)
- Paint
- Magazines – cut shapes from colorful pages. Cut strips and glue onto card or cardboard for background.
Kids often want to cut around people or objects in a magazine, show them how to cut their own shapes out of colorful pictures instead. - Newspaper – cut shapes and then paint (as I did with the Christmas tree pictured above).
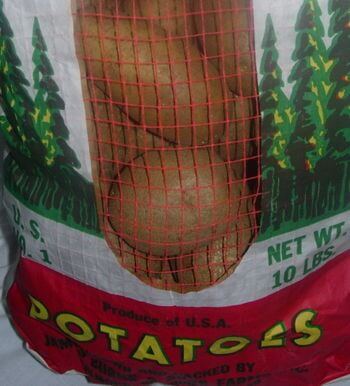
- Make stamps with potatoes and apples
- If you have corn husks on hand, you could follow Martha Stewart’s instructions and make leaves from those. Very pretty (and biodegradable)!
- Cut leaf templates out of cardstock or a cereal box so they can be used over and over again.
- I’m sure you can think of many more!
Basic card construction with a cereal box and grocery sack:

Cut out square or rectangle from a cereal box (make it at least twice as wide as you want it to be).
Cut a similar shape from a paper grocery sack, making it a little larger.
Cover the printed side of the cereal box with glue.
Place printed side of grocery sack on glued side of cereal box. (The sides do not need to match up exactly.)
Let dry. Cut card to size and fold.
Optional: May fold outside edges of grocery sack over inside of card to make borders (see third picture above).
This makes a basic card that can now be decorated any way you choose.
Using Old Christmas Cards – 3 Ways
Many people only sign their name to the bottom of a card and write nothing else; this leaves a lot of room for re-use!
1. For younger children, simply cut off the front of the Christmas card and glue to some folded construction paper or a cereal box card. Write your own message inside.
2. Cut a large rectangular shape from construction paper (or other paper) and glue over the message and signatures. Write your own message. (This may seem tacky to some, a little too much like re-gifting. Do you think so?)
3. Cut around shapes and characters on the front of cards and glue to your own card base.
3-D stickers are great for making cut-out Christmas cards look snazzy (yes, I just used the word snazzy!), but you don’t have to buy them, make your own: simply cut a strip from a box and glue to the back of a picture. Then glue the other side onto the card. Voila! Your very own 3-D card!
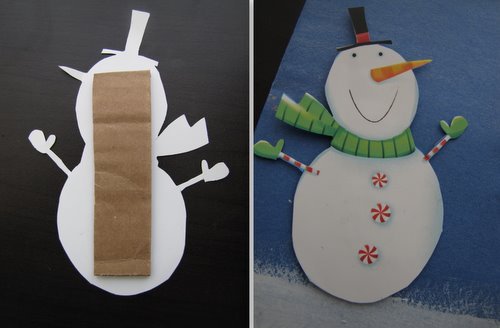
A lot of excellent ideas for reusing greeting cards can be found here.
I’ve posted more card making tips and tutorials, including instructions for the stain-glass window card (using crayon shavings) on my blog.
However you choose to create cards for friends and loved ones, it will be a blessing. You can take it one step further by praying for the recipient once you are finished making their card.


i do the whole re-using cards we’ve received. i usually tear of the face side of it and cut scalloped edges or glue it to another piece of cardstock. add some ribbon and there you have it! love this post. i’m going to make thanksgiving cards with my little darlings. they will love it!
This sounds like so much fun! I am generally not very crafty. (I am the one who will send you the store bought Christmas card for you to reuse in a creative way.) But I think I might use some of these ideas for Thanksgiving cards. My 4 and 6 year old girls would love to do this kind of project! I think we have a Saturday project coming our way. Thanks for the great idea!
I did this last year and plan to do some variation again. I used various paper we had on hand. The kids helped cut and paste, and we added a picture to the finished product. It was fun and special. http://www.wholediligence.com/?p=161