Your Real Food Camping Menu Primer (With 50+ Recipes & Food Ideas!)
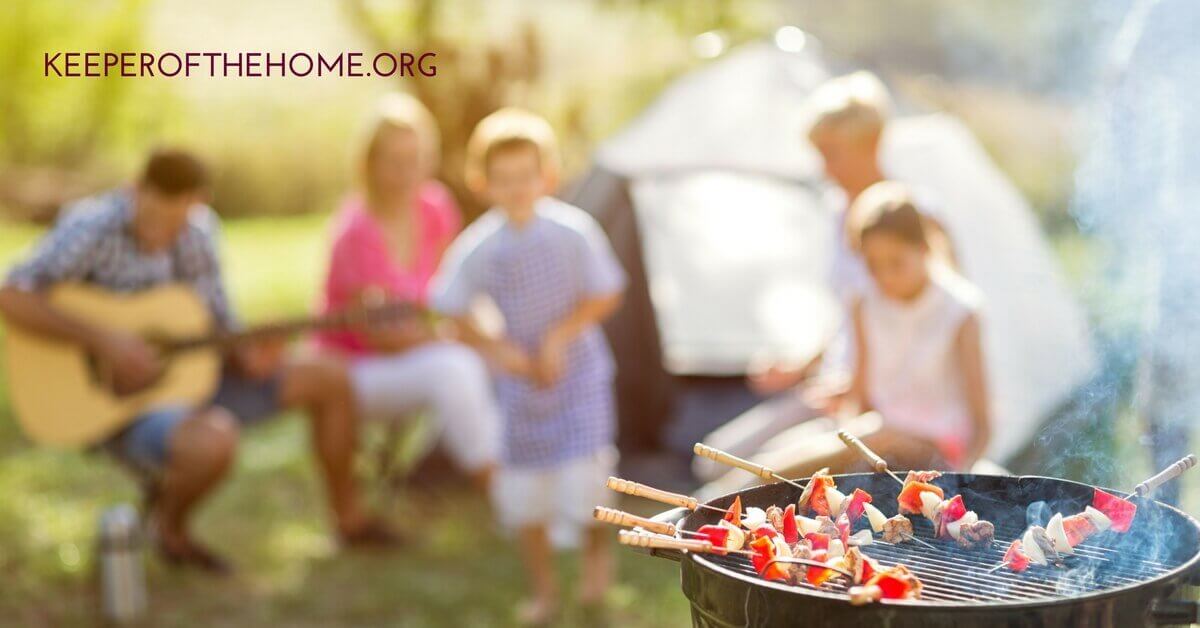
Camping can be a wonderful way to get outside and enjoy nature.
But sometimes…there are a lot of hurdles. There’s the prep, which can make anyone wince. And eating can take all! your! time! (Or is it just that I have all teens?!?)
Camping can make you remember the more basic beauties in life, though, and it’s also great for family togetherness (not always in good ways…).
But really, camping gives us a chance to live more simply, closer to nature, with less technology, more movement, and more relaxation.
Oh, and camping also gives us plenty of time to savor delicious food! We need hearty fare to bookend days of hiking, canoeing, or seeing sites along the road.
Whether you’re grilling, cooking over an open fire, or using a gas camp stove, food prepared outdoors has a special flavor. Here are some pointers for having a well-fed camping trip!
Before You Leave to Go Camping
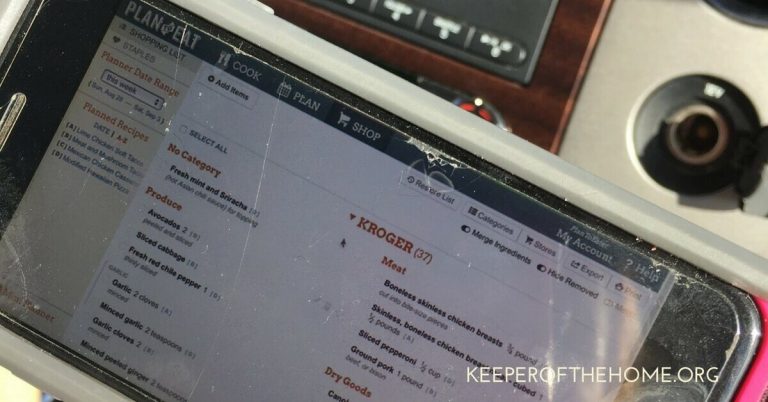
Whether or not you usually make time to meal plan, do plan the menu for your camping trip!
It will help you to have the right things on-hand and will answer the questions “what’s for dinner?” and “when do we need to start on (the next mea)?”
Eat meals in a logical order.
If you’re tent-camping and relying on an ice chest for refrigeration, plan to eat more perishable items (like meat) early in the trip and save the dry goods (like spaghetti) for the end.
Extend the life of perishable items by freezing what you can ahead of time. You can eat the food when it thaws, and in the meantime it will keep the ice chest cool!
Even if you’re not tent-camping, you’ll still want to spend some time thinking about how you’re using your food and in what order you’re eating it.
Make use of leftovers and have handy grab-n-go snacks ready (frozen fruit works great for this!).
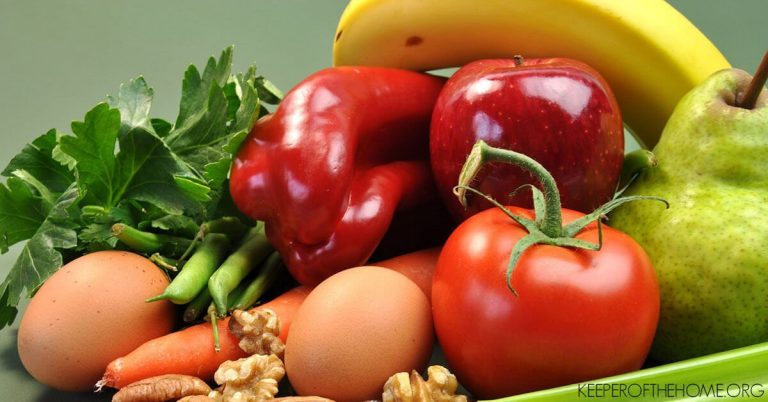
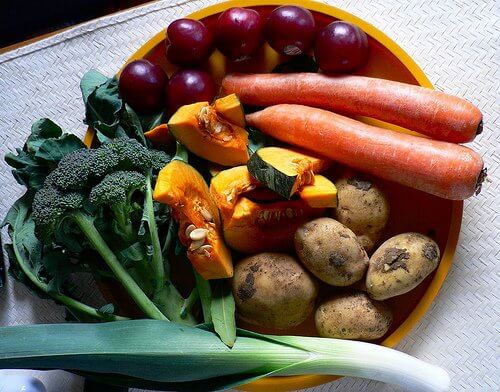
Pack food (especially produce!) that travels well.
Bring hearty fruits and veggies that hold up to the rough and tumble nature of camping and that won’t spoil quickly.
For instance, I don’t bring bananas unless we can eat them the first day—otherwise, they’ll begin to bruise and make the rest of the food smell like bananas.
Make things ahead of your trip!
Camp cooking is fun, but in unfamiliar surroundings it takes longer to prepare than it would in your own kitchen. If you can get the meal ready quickly, you can spend more time sipping your coffee in the morning, or watching fireflies at night.
Here are some easy things to make and prepare ahead of time:
- Baked goods, like muffins and cookies
- Bread for toasting and sandwiches
- Pancake mix
- Meat, chopped and marinated
- Most snacks
WARNING: Don’t stress yourself with endless preparations! Pick just a few meals to make ahead and keep the rest of the on-site cooking simple.
Once you’ve planned out your menu, think about what ingredients (including condiments) go into each meal and create your grocery list.
Here’s a helpful practice: mentally prepare each meal in your mind, so you can think about what cooking utensils and extras you may need for preparing, serving, or eating.
Tips for Meals When You’re at the Campsite
Make dinner early.
Don’t know about you, but cooking by the light of a battery lantern swarmed with bugs is NOT the life for me. Begin meal prep with plenty of daylight, and then you can linger long over the campfire or turn in to read in your sleeping bag and tell scary stories.
Prep lunch the night before.
You can save time on the road by making sandwiches for the next day’s lunch when you’re making supper the night before.
For that matter, it’s nice to have a picnic lunch ready to go even if you’re staying in one spot! That way, you don’t have to get all the food out and clean up extra dishes.
Give everyone a job.
Whether the job is helping with cooking, doing dishes, or another camp chore, assign a task to everyone on the trip. Rather than taking turns with different jobs, giving everyone a “specialty” makes expectations clear and allows room to learn efficiency in one particular task.
Giving each person a specific task for setting up camp, for example, lets things settle into a routine and also makes your crew efficient pretty quickly!
Ready to meal plan for your camping trip? Here are 50+ ideas for your real food camping menu!
Breakfast
Bacon and/or Sausage (freeze ahead)
Berry Breakfast Cereal (easy to adapt for over the campfire)
Strawberry Chia Muffins (make ahead)
Ingredients
- 2 cups flour (whole wheat works well)
- 1 tablespoon baking powder
- 1/2 teaspoon salt
- 1 egg
- 3/4 to 1 scant cup of sugar (depends on your strawberry ripeness)
- 1 teaspoon vanilla
- 1/3 cup coconut oil, melted and cooled
- 1 1/2 cups diced strawberries
- 1 cup plain yogurt
- 1/4 cup milk (I used almond milk)
- 1 heaping tablespoon chia seeds
Instructions
- Preheat your oven to 350 degrees. Line muffin pans with liners or grease generously with butter or coconut oil.
- In a medium bowl, whisk together the flour, baking powder, and salt.
- In a large bowl, mix together the egg and sugar until well-blended. Then gradually stir in the coconut oil. Mix well. Now stir in the plain yogurt.
- Slowly mix the dry and wet ingredients. Blend in milk until just combined. If your batter is too thick, you can add a little extra milk, but be careful not to add too much.
- Gently fold in strawberries, reserving 1/4 to 1/2 cup for adding to top of muffins.
- Pour (or scoop with a spoon) your batter into your muffin cups (approximately 12-15 muffins). Sprinkle the remaining strawberries on top.
- Bake for 20 to 25 minutes in your preheated oven. Bake until your muffins are golden brown or a toothpick inserted into the center comes out clean.
- Allow muffins to cool in pan for a couple of minutes; then transfer to cooling rack to finish cooling completely.
Breakfast Burritos (can also make these ahead)
Eggs (you can freeze ahead, if you want!)
It can be a little challenging to take a dozen eggs and keep them from breaking…so here’s a way to freeze them ahead of time:
- Mix them up before you leave
- Put them in a container that can be frozen
- Stick that container in the freezer
When mixing up your eggs before freezing, count on 2-3 per person
Grits and Sardines (since these are dry goods, this is a great meal for later in the trip)
Pancakes (make dry mix ahead. If you bring your raw milk on the trip, make pancakes a couple days in when the leftover milk begins to sour and turn to buttermilk.)
Seasonal Fruit
Zucchini Bread (in a Dutch oven)
Lunch
Boiled eggs (made the night before)
Chicken Salad (make ahead)
Ingredients:
- 1 cup cooked shredded chicken
- 1 rib of celery, chopped
- 1 cup coarsely chopped walnuts (optional)
- 1 tablespoon coarsely chopped dried cranberries
- 1 cup mayo
- Dash of sprinkled onion powder
- salt and pepper to taste
- 1 drop liquid stevia (optional)
Combine them all together and keep it cold.
Farmhouse Muffins (make ahead)
Sandwiches
Cold Mini Quiches (make ahead; can be eaten cold)
Ingredients:
- 6 eggs
- 1/2 cup chopped onions
- 1/2 cup multi-colored peppers
- 2 cup diced broccoli
- 1-2 tablespoons grapeseed oil
- optional – cheddar cheese
- seasonings to taste (salt, pepper)
Instructions
- Preheat oven to 400 degrees.
- Steam the veggies with oil and a small amount of water in a frying pan; cover until cooked.
- Use a food processor to blend veggies together, so they won’t be too chunky.
- Scoop out even portions of veggies into the muffin holes.
- If desired, top veggies with a little sprinkle of cheddar cheese.
- Mix eggs in a bowl with desired seasonings and pour to the top of each muffin mold.
- Bake for about 15-20 minutes.
Tabouli (make ahead)
Supper
Baked Potatoes
Biscuits with Salmon Gravy (make biscuits ahead of time, or use tortillas instead)
Southwest Grilled Chicken
Ingredients
- 2-3 pounds chicken drumsticks OR thighs (or a mix of both)
- 2 Tablespoons extra virgin olive oil (you could also substitute avocado oil)
- 2 teaspoon coarse sea salt
- 2 teaspoon paprika
- 1 teaspoon fresh cracked pepper
- 1 teaspoon dried oregano
- 1/2 teaspoon onion powder
- 1/2 dried thyme
- 1/2 teaspoon garlic powder
- 1/4 teaspoon chili powder
- 1/4 teaspoon cayenne powder (if you like it hot or with a bit more kick, you can increase both the cayenne and chili to 1/2 teaspoon instead of 1/4)
Instructions
- Preheat your barbecue and get it nice and hot (I usually get mine close to 500 degrees).
- Add oil and all spices and herbs to a bowl and stir until thoroughly combined.
- Put chicken into either a bowl or a ziploc bag (my preference) and add the spice and oil mixture.
- Mix the chicken and spice mixture together until chicken is well coated.
- Put the chicken on the grill and close the lid for about 10 minutes, and turn it down to a lower temperature (mine has a low setting, which is what I switch it over to, and this brings it to around 350).
- Flip chicken (it should have nice grill marks on it at this point) and cook for another 5 minutes. If you’re cooking drumsticks, you may wish to rotate them by a quarter turn a little more frequently for more even cooking.
- Watch chicken as it continues to cook and check for doneness, which will vary depending on how large your pieces are, whether they were fully or only partially thawed, and the temperature of your grill.
Chicken Vegetable Bake (in a Dutch oven)
Grilled Cheese Sandwiches
Grilled Chicken Fajitas (prep ahead)
Grilled Meat (marinated/frozen ahead of time)
Ultimate Nachos
Ingredients:
- 1 pound ground beef (you may use less)
- 3 tablespoon taco seasoning
- 1 1/2 cups pinto OR black beans
- Approx. 10 cups blue corn tortilla chips
- 3-4 cups cheese
- Toppings (any combination of the following): lettuce, salsa, sour cream (or plain yogurt), guacamole, black olive, diced onions, fresh cilantro, sliced jalapenos, green onions, chopped tomatoes.
Instructions
- Preheat oven to 350 degrees F. Brown ground beef in a large skillet. Add the homemade taco seasoning and beans. Stir well and let cook for 2 minutes.
- Spread tortilla chips out on a large sheet pan. You can cover the pan with parchment paper to keep the nachos from sticking.
- Sprinkle half the cheese over the chips. Top with the meat/bean mixture. Sprinkle on the remaining cheese.
- Bake the nachos in the preheated oven for 10 minutes. While the nachos are baking, you can make your guacamole, prep the rest of your toppings, and clean up.
- Once the nachos are done baking, top with your choice of toppings. Serve with a spatula.
Hamburgers (make ahead and freeze)
Tomato Soup (make ahead and freeze)
Spaghetti
Snacks
Most of these you’ll want to make ahead of time! Store in tightly-sealed containers, as things tend to get stale more quickly in out-of-doors humidity.
Apples (these are a good pick for non-messy fruit since they’re crisp, rather than overly-juicy)
Bell Peppers (sliced)
Boiled Eggs
Carrot Sticks
Chocolate-Covered Pretzel S’mores
Homemade Marshmallows (make ahead)
Ingredients
- 1 cup pure maple syrup
- 2 egg whites
- 2 teaspoons vanilla extract
- 2 Tablespoon unflavored gelatin
- 1/2 cup water
Instructions
- Place egg whites, maple syrup, and vanilla extract in the bowl of a stand mixer. Beat on high until peaks form when you lift the beater out of the mixture.
- While the egg mixture is beating, heat the water and gelatin in a small saucepan over medium heat until the gelatin is completely melted.
- With the mixer still going, carefully pour the gelatin mixture into the bowl of the stand mixer. Try to pour it down the inside of the bowl so that it doesn’t hit the beater and make a mess. Continue beating on high for 10 minutes.
- While the marshmallows finish beating, lightly great a 9×13 glass pan and then dust with coconut flour.
- Once 10 minutes is up, spread the mixture in your prepared pan. Allow to set for at least 4 hours or preferably overnight. Use a sharp knife or kitchen scissors to cut the marshmallows into desired shapes and sizes. You can also pipe the marshmallows onto a baking sheet that has been dusted with coconut flour to make fun marshmallow shapes.
Kettle Corn (make and enjoy around the campfire!)
Maple Glazed Walnut Coconut Crunch
Trail Mix (any combination of nuts, chocolate chips, dried fruit, etc.)
Drinks
Mix up these drinks before you leave home, then refrigerate or freeze in large glass jars. Shake well before serving.
Lemon-Lime Ginger Herbal Iced Tea
- 3 parts lemon balm
- Thumb length slice of ginger root
- 4 tea bags of green tea
- 1 whole lime, sliced (optional, but highly recommended)
- 1 part cilantro
Homemade Electrolyte Sports Drink
Peppermint Herbal Iced Tea
Fill 1/3 of a half gallon jar with fresh peppermint leaves. If using dried peppermint, you’ll cut the amount in half. Substitute chocolate mint for peppermint for a sweet treat!
Lemon Pineapple Refresher Herbal Iced Tea
- 3 parts lemon balm
- 1 part pineapple sage
- 2 tablespoons black tea
- 1 whole lemon, sliced (optional)
Sun Tea (This one you can make at the campsite! Let it steep while you do your daytime activities, and then chill it in ice in the cooler while you prep dinner.)
Passion Tea Lemonade
Ingredients
- Tazo Passion Tea bags
- Honey or other sweetener
- Lemonade
- Water and ice
Instructions
To make the Passion Tea concentrate:
- Steep 5 tea bags in boiling water. You’ll need to use a large container for this, as it will be a large amount of water. I used an extra-large pyrex measuring cup.
- Steep them for at least 10 minutes. I left mine in several hours because it was the dinnertime and bedtime craze, and they got forgotten. No big deal, it was just super concentrated. I use a little less and water it down.
- Take the tea bags out and store the concentrate in the fridge.
To make the simple syrup:
- Basically you are using a 2:1 sweetener to water ratio. Ie. 2 cups of water and 1 cup of honey (or sweetener of choice). I used half honey and half coconut palm sugar. Most types of sweetener will do fine. You could probably even use stevia in this recipe – just skip the simple syrup bit and add the liquid right to your drink. (I don’t know for sure, though, so if you try it – let me know in the comments!)
- Bring to a boil in a pot over the heat, and slowly simmer to reduce. Simmer and stir frequently for about five minutes, then remove from heat to cool. This mixture can be stored in the fridge for quite a while, but probably won’t last long if you love this lemonade like I do!
And finally, to make the Passion Tea Lemonade:
- Fill your cup about a third full of Passion Tea concentrate (I like to use a mason jar, and you’ll see why in a minute).
- Add a small amount of simple syrup (maybe start with 1/4 cup and add from there, to taste), and twice as much lemonade (Try the honey-sweetened lemonade recipe here, or buy it pre-made).
- Fill with ice. Taste test.
- Add water if the flavor is too strong, and add additional simple syrup if desired. I like mine on the tart side, so I end up with a very small amount of tea concentrate, and lots of lemonade, then water and ice, with a small bit of simple syrup. It’s very versatile, according to taste, so taste test as you go!
- In Starbucks they use a fancy shaker thingie to shake it up and give a bit of foam. I use a mason jar with a lid on it to achieve the exact same thing! Stick a straw in it, sit back in the sunshine and sip slowly. Happy summer, friends!
Bonus Camping Menu Helps
- Tiffany’s frugal real food camping menu makes things simple: if you’re overwhelmed by the details, give this a look (she went above and beyond!)
- Gluten-free is no problem, thanks to this gluten-free camping menu from Katie at Kitchen Stewardship.
- Katie has also put together a 3-day complete real food camping menu.
- The listing of what to take and how to use it that Lisa has pulled together at 100 Days of Real Food = super useful and more than a little helpful
Do you love to camp? What are your favorite camping meals?