Frozen Banana Bites: The Perfect Summertime Treat!
Summer will officially arrive soon, and we simply cannot wait! In anticipation of “no more pencils, no more books” … we’ve already dusted off the ice cream maker and of course, our ice pop molds.
That’s because making homemade frozen treats is one of my family’s favorite summertime traditions. In fact, the ice cream man has given up on visiting our neighborhood since my boys and I whip up a never-ending supply of delicious ice pops and other frozen concoctions that keep us (and their friends) well supplied. Besides, making your own frozen treats isn’t just FUN – it’s economical and healthier too!
The good news is, you really don’t have to invest in a fancy ice cream maker or even ice pop molds to enjoy a refreshing frozen treat. One of our favorite super-duper easy frozen treats are these incredible frozen banana bites from my FREE “Healthy Ice Pops & Frozen Treats” eBook.
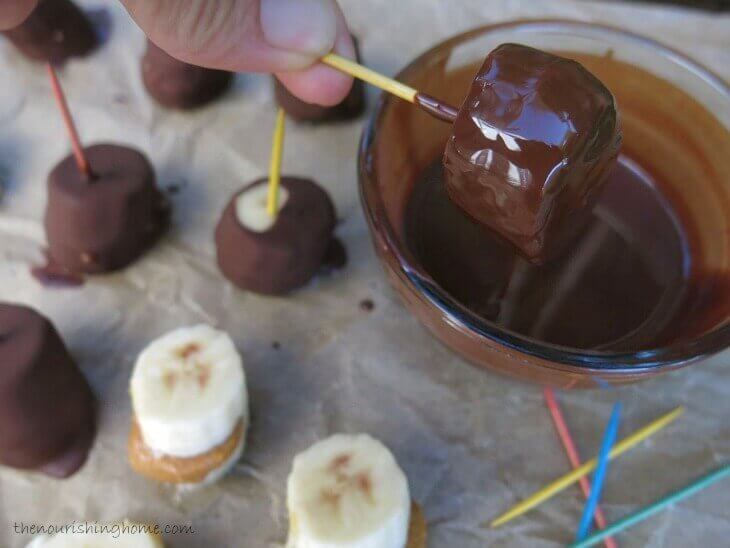
Made with fresh banana slices, a dab of nut butter and homemade chocolate hard shell, these little bite-sized gems take only minutes to make and seconds to eat. (Warning: It’s impossible to eat just one!)
How to Make Frozen Banana Bites

Step One
Peel and cut 3 to 4 large bananas into thick slices. Add a dab of nut butter (or sunflower seed butter) to the center to create a banana nut butter sandwich. Then, place them on a parchment lined baking sheet. Once you’ve finished assembling your banana sandwiches, place the baking sheet in the freezer for 1 to 2 hours, until the banana sandwiches are frozen solid.
Step Two
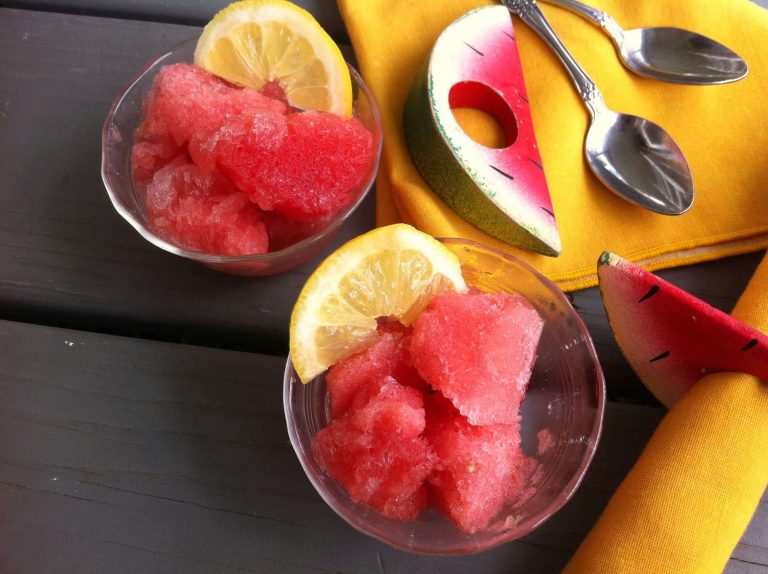
Make homemade chocolate hard shell, following the recipe below. Allow it to cool on the counter while your banana sandwiches are freezing. Go do something fun while you wait, like make some more ice pops – here are a few great recipes that will definitely keep that ice cream man at bay.

Step Three
Once your banana sandwiches are frozen, place a toothpick into the center and use it to dip them into the homemade chocolate hard shell. Hold the frozen banana bite over the dish to allow the excess chocolate to run off. Then transfer back to the parchment lined sheet to finish hardening.

Step Four
Enjoy! You can gobble up your frozen banana bites right away, or save them for later. If you opt to save them for later, place the baking sheet full of chocolate-dipped banana bites back into the freezer. Once they’re frozen solid, you can transfer them to a freezer safe container. Be sure to remove the toothpicks if serving to small children.
Homemade Chocolate Hard Shell
Recipe courtesy of the “Healthy Ice Pops & Frozen Treats“ eBook
Ingredients
• 1 1/2 cups semi-sweet, fair-trade chocolate chips
• 1/3 cup coconut oil
• 1/2 teaspoon vanilla extractMethod
1. In a small saucepan over low heat, melt the coconut oil and chocolate chips, while stirring constantly.
2. Remove from heat and stir in the vanilla.
3. Transfer the chocolate mixture to a small glass dish. If using the chocolate hard shell for dipping fruit, be sure that the dish is deep enough to allow you to completely cover the fruit.
4. Allow the chocolate to cool to room temperature before using, then dip away and enjoy!


Looking for more delicious ways to use this easy and scrumptious chocolate hard shell topping?
• Drizzle it on top of homemade vanilla ice cream or homemade custard and top with nuts for a yummy ice cream parfait.
• Or drizzle it on top of a luscious ice cream concoction like strawberry goat cheese ice cream and top with sliced strawberries.
• Use it as a decadent fruit dip for your favorite summertime party trays.
• Or go ultra-fancy and make irresistible Blackberry Bon Bons.
And … you can discover even more fun ways we use homemade chocolate hard shell to create a whole host of frozen ice pop treats by grabbing your free copy of “Healthy Ice Pops & Frozen Treats.” Have a happy & delicious summer!

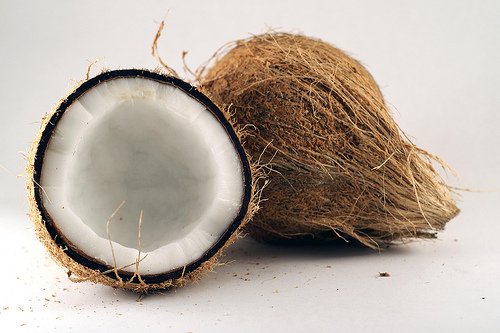
Now, I can’t wait to receive my coconut oil that I ordered. We will make these soon!
Thanks, Shonda! Happy summer! 🙂
These look fantastic. We’ve made something similar before using half bananas, but these would be a great party treat.
That’s a great idea! They would be a cute party appetizer. Thanks for sharing!
Bookmarked these to try later — they look amazing! (And won’t be a terrible hit to my diet, either….)
Thanks, Janelle! Hope you enjoy them! 🙂
Thank you so much for this recipe! I just picked up 3 packages of bananas from Costco. These look fun, healthy, easy, and delicious. Thanks, again!
Thank you for leaving a kind note, Heather. I hope you all enjoy this recipe! Happy Summer! 🙂
I love this idea. We like to make something very similar. We call them banana sandwiches and drizzle honey and cocoa powder on top. My kiddos are gluten free and this is a perfect snack! Thank you for sharing.
My pleasure. Love the idea of a drizzle of honey. Yum! Thanks for sharing!
Delicious. I love chocolate covered bananas and it is definitely cheaper then buying store bought ones. I never thought of using the hard shell topping instead of just straight chocolate chips.
Also just an FYI you might want to consider changing your reference to ” Magic Shell” to something else (maybe chocolate hard shell topping) as I know of another blogger who posted a hard shell topping recipe a few years back and ran into issues when her post got pinned to Pinterest. Everyone ended up receiving a notice about the pin being in violation of copywrite infringement and being removed. Just wanted to give you a heads up so you might avoid the same issue.
Thanks, Celine. Appreciate that info! 🙂
Kelly these sound wonderful – for my “big kid” (hubby – the chocoholic) as well! Thanks for a great recipe! I was wondering though – do you know if the homemade magic shell recipe works with milk chocolate or carob chips as well?
Hi, Lori! I have one of those too – a chocoholic hubby). I’m sure it would work with milk chocolate, I would pull back on the coconut oil though (perhaps just 1/4 cup instead). I have not tried it with carob chips, so I honestly cannot say. But let us know if you try it! 🙂
We are going to make these today! Thanks for the great recipe! One question – does the shell mix reheat/re-melt well if it starts to harden?
Hi, Andrea. If you cover the magic shell and leave it out at room temp, it usually does not harden (unless your room temp is chilly). But you can also refrigerate it and just rewarm it. I usually keep mine in the fridge and just rewarm it prior to using. Enjoy!
Made them tonight with kids and we loved them!!! Thank you! We have some chocolate left, ok to store in ref? Thanks!
Yay! So glad you enjoyed and yes, you can store in the fridge and then rewarm when ready to use again. 🙂
Kelly, these look so fun! My kids would LOVE to make these.
Thanks, sweet friend! 🙂
Yum! Just made these today with milk chocolate chips and they turned out great. Definitely will be making more of these. Fun for the kids to help too! Thanks for the recipe.
So glad you all enjoyed the recipe. Thanks for taking the time to leave a kind note! 🙂
Do they”” keep”” in the freezer? I’d we cannot eat them all, I mean? Thanks!
Yes, once you dip them into chocolate, freeze them on the tray until frozen solid. You can then remove the toothpicks (if serving to smaller children) and place them in an airtight container and store in fridge until you’re ready to enjoy! 🙂
I’m not a big of bananas, but I saw this and now I can’t wait to go pick some up so I can make these, pronto! Thanks for sharing!
My pleasure! Hope you enjoy them!