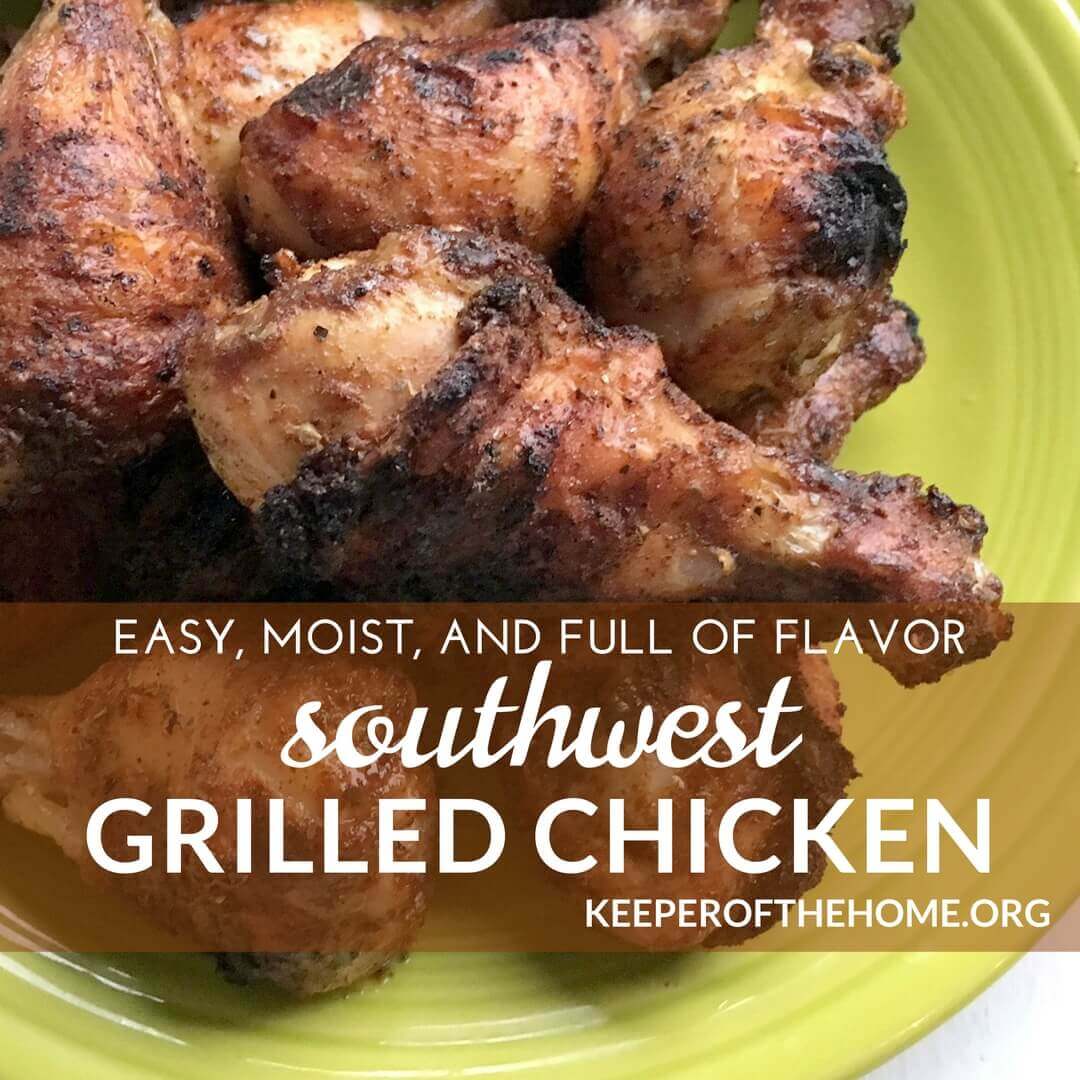
Southwest Grilled Chicken: Easy, Moist, and Full of Flavor
This Southwest Grilled Chicken recipe has become a fast family favorite since I began making it a few weeks ago. I’ve probably made it three times just in the past two weeks alone!
It’s a bit sad to admit but it wasn’t until this summer that we finally bought our first barbecue after nearly 13 years of marriage. We truly didn’t know what we were missing.
Now, in our exuberance, we’ve been grilling almost every other day. We’re total converts.

One night I wanted to do something different with some chicken drumsticks, and although I don’t usually go for spicier flavors, I took a gamble on this recipe. The first time I made it was just a little too hot for us (although we all kept eating it, declaring how amazing it was in between big gulps of water!).
Since then I’ve adapted it to find just the right amount of heat to suit even our young kids (the four and seven year old eat this without any problem).
One note about the recipe: I typically do it with chicken that is still partially frozen. I’d like to say this is on purpose, but, in reality, it’s usually because I forget to thaw the chicken until only an hour or two before dinner. Ahem.
Personally, I’ve found that grilling chicken from not-quite-thawed (especially when you begin by searing it on a grill that is already very hot) really helps to seal in the juices beautifully, with the end result of amazingly moist meat.
You can serve it up with anything, but our usual is either baked or diced potatoes done on the grill, together with grilled corn, seasonal vegetables, or a green salad.
Southwest Grilled Chicken Recipe
Ingredients
- 2-3 lbs chicken drumsticks OR thighs or a mix of both
- 2 TBSP extra virgin olive oil (you could also substitute avocado oil
- 2 tsp coarse sea salt
- 2 tsp paprika
- 1 tsp fresh cracked pepper
- 1 tsp dried oregano
- 1/2 tsp onion powder
- 1/2 dried thyme
- 1/2 tsp garlic powder
- 1/4 tsp chili powder
- 1/4 tsp cayenne powder
- Like it hot? You can increase both the cayenne and chili to 1/2 tsp instead of a 1/4 if you prefer a bit more kick. Our family likes only a small amount of heat but this is an easy adjustment if your family likes things spicy. 🙂
Instructions
- Pre-heat your barbecue and get it nice and hot (I usually get mine close to 500 degrees).
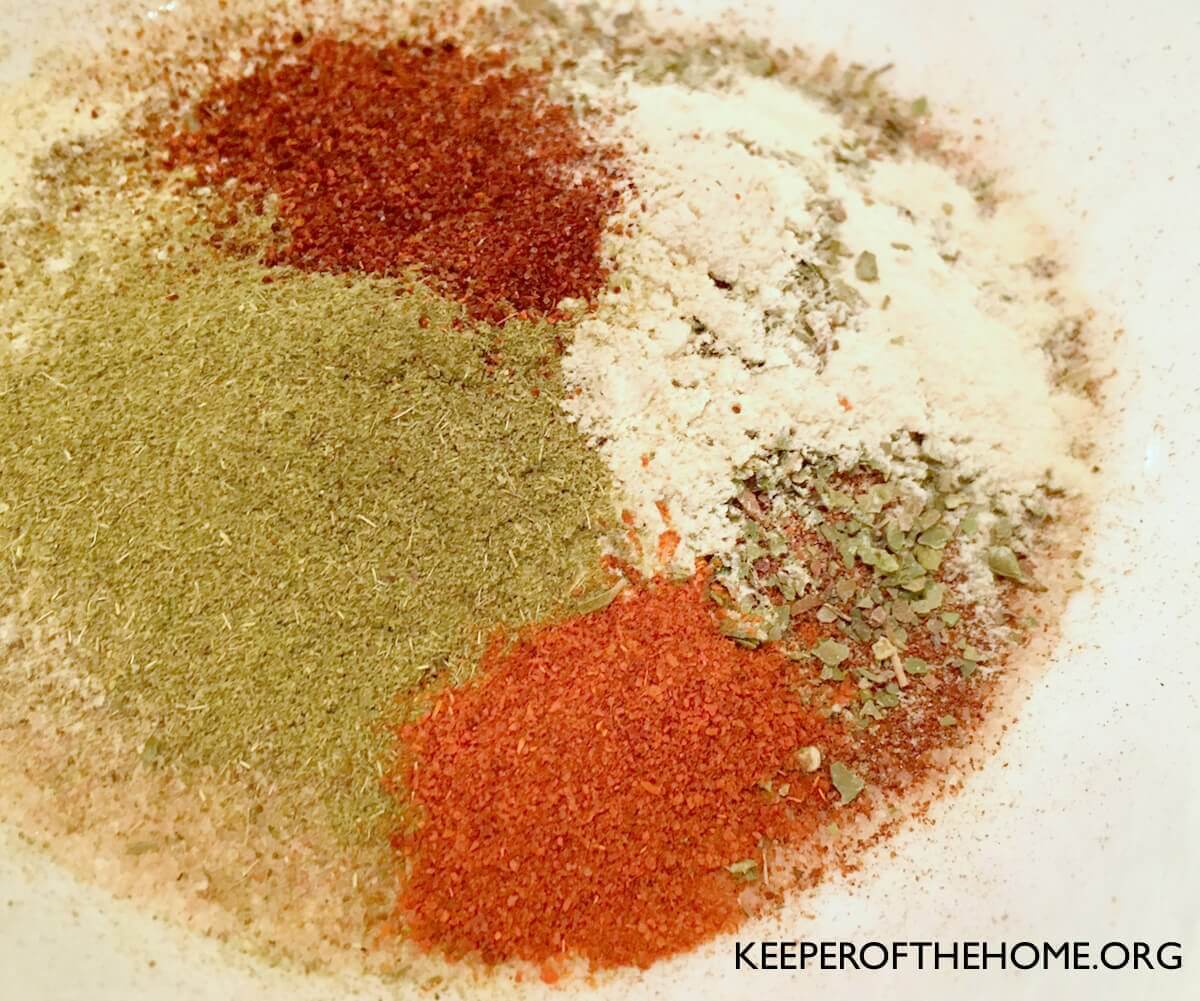
- Add oil and all spices and herbs to a bowl and stir until thoroughly combined.
- Put chicken into either a bowl or a ziploc bag (my preference) and add the spice and oil mixture.
- Mix the chicken and spice mixture together until chicken is well coated.
- Put the chicken on the grill and close the lid for about 10 minutes, and turn it down to a lower temperature (mine has a low setting, which is what I switch it over to, and this brings it to around 350).
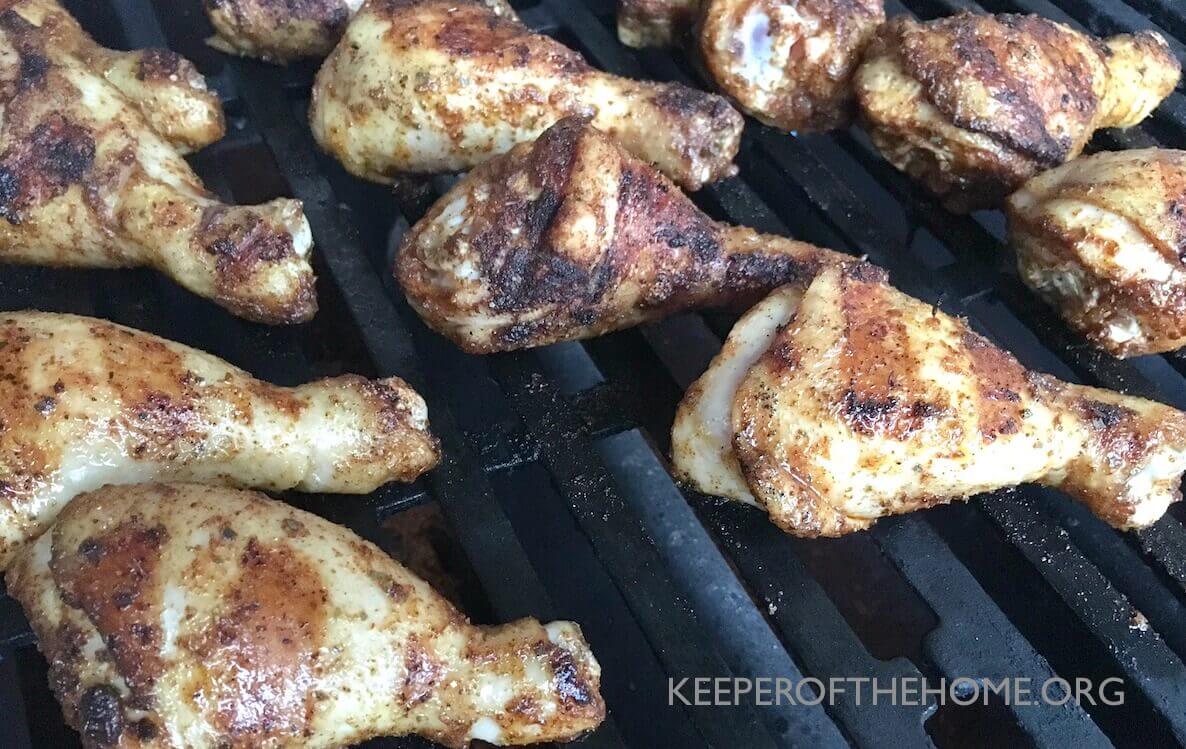
- Flip chicken (it should have nice grill marks on it at this point) and cook for another 5 minutes. If you’re cooking drumsticks, you may wish to rotate them by a quarter turn a little more frequently for more even cooking.
- Watch chicken as it continues to cook and check for doneness, which will vary depending on how large your pieces are, whether they were fully or only partially thawed, and the temperature of your grill.
On grilling chicken safely
When I’m doing it from partially frozen chicken, I flip it an extra one or two times and give it longer than usual to make sure it’s thoroughly cooked and steaming hot on the inside. Then I test a couple pieces with a sharp knife to make sure the juices run clear.
You can also use a meat thermometer to test it if you’re unsure. The recommended minimal internal temperature for poultry is 165 degrees Fahrenheit (74 Celsius) and some even say 170 F (76 C) to be safer.
Because you’ve seared it with the really high heat in the beginning, it should stay nice and moist and juicy even if you have to leave it a bit longer to ensure it’s fully cooked. I’ve found it to be pretty foolproof and haven’t ended up with dry chicken yet!
And that’s it!
Serve and listen to your family or guests rave about your amazing chicken. It’s also excellent as leftovers the next day or sliced up and served on a green salad.






Can’t wait to try this! I’ve gotten stuck only doing gluten free oven fried drumsticks and they take too long some nights!
Hopefully this is a nice change for you Lea! I often get stuck doing the same meals over again, it’s nice to add new recipes to the mix! Enjoy!!