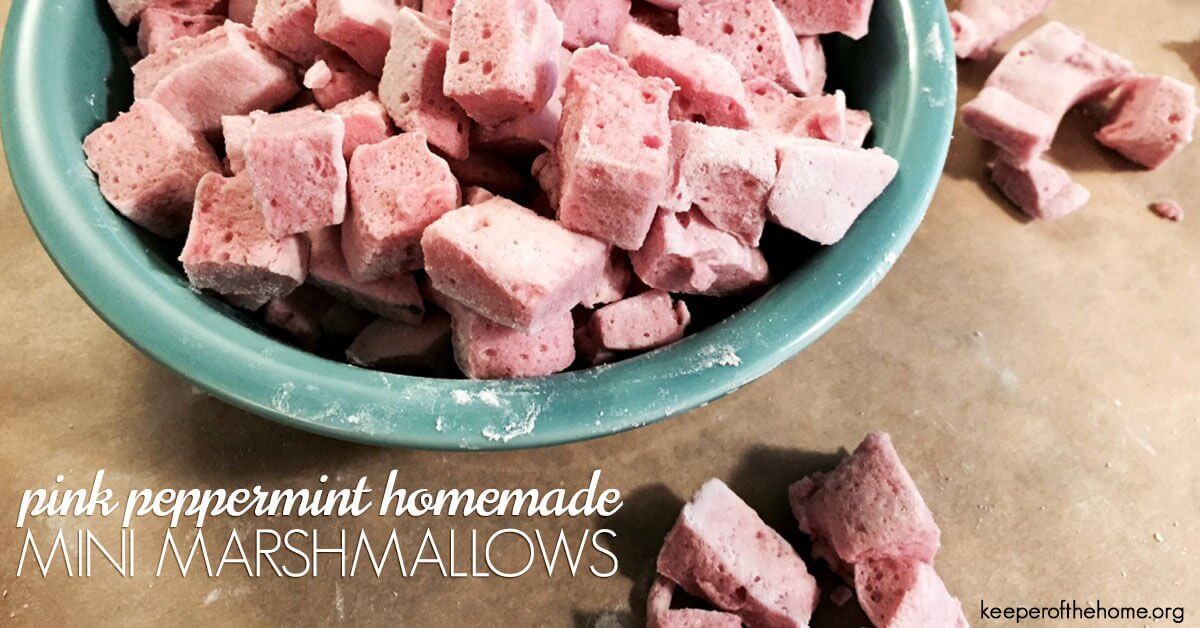
Pink Peppermint Homemade Mini Marshmallows
By Stephanie Langford, Contributing Writer
Growing up, mini marshmallows had a special place in my heart.
Not only were they a key ingredients in these incredibly delicious, incredibly un-healthy little peanut butter squares my Nana used to make, but they were also the perfect topping for a warm mug of hot chocolate.
Though we’ve let our kids have S’mores while camping with friends a few times, I can’t say that I’ve ever bought a bag of those colorful mini marshmallows since I’ve been a mom. But what is winter without a cup of hot cocoa and chewy, colorful bits of fluff melting away slowly as you sip on it?
Which is why I finally realized I had to create my own. About a month back, I gave full sized homemade marshmallows a try, using this simple recipe for matcha marshmallows (which ultimately inspired my own recipe).
I’d always thought they were way too hard to bother with, and was surprised at how fun and easy they were to make.
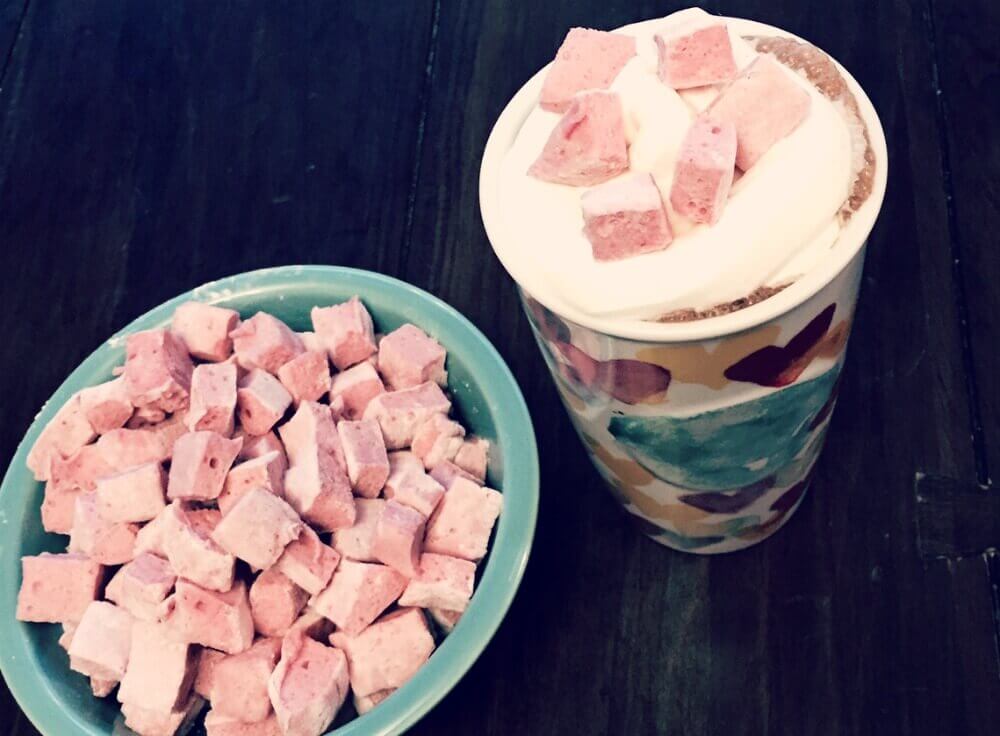
As an added bonus, homemade marshmallows are full of digestion-enhancing gelatin, making them something I’m happy to let my children eat regularly. The other major source of gelatin in our diet is bone broth, which we try to make a batch of every week, but gelatin is one of those traditional foods with so many benefits that finding extra ways to consume it is a wise idea.
I got inspired the more I thought of making adorable, pink, peppermint marshmallows, so we rolled up our sleeves last weekend and got to work.
When my 11-year-old daughter began telling me over and over again, “Mom, these taste like junk food! I can’t believe I’m allowed to eat them!” I knew they were a success. #winning
Here’s how we did it…
Pink Peppermint Homemade Mini Marshmallows
Pink Peppermint Homemade Mini Marshmallows
Ingredients
- 1 1/2 cups water divided in half
- 6 Tbsp gelatin
- 1 1/2 cups <a href="https://www.amazon.com/s/ref=as_li_ss_tl?fst=as:off&rh=n:16310101 k:raw+honey,p_n_feature_browse-bin:10434587011&keywords=raw+honey&ie=UTF8&qid=1450544375&rnid=10434578011&linkCode=sl2&tag=keeofthehom-20&linkId=d88a0007105a4a542997dd48ebd56250" target="_blank" rel="nofollow">honey
- 2 tsp. <a href="https://www.amazon.com/s/ref=as_li_ss_tl?url=search-alias%3Dgrocery&field-keywords=organic+pure+vanilla+extract&rh=n:16310101 k:organic+pure+vanilla+extract&ajr=0&linkCode=sl2&tag=keeofthehom-20&linkId=e1dff06074d37576c1104a580bad3144" target="_blank" rel="nofollow">vanilla extract
- 2 tsp. beet powder optional, but this gives the natural, dye-free pink color
- 8 drops peppermint essential oil
- <a href="https://www.amazon.com/s/ref=as_li_ss_tl?url=search-alias%3Dgrocery&field-keywords=arrowroot+powder&sprefix=arrowroot aps,172&linkCode=sl2&tag=keeofthehom-20&linkId=b6b3f4eab72f87aa0a7f35d2f7a03e79" target="_blank" rel="nofollow">Arrowrootor tapioca powder for cutting
Instructions
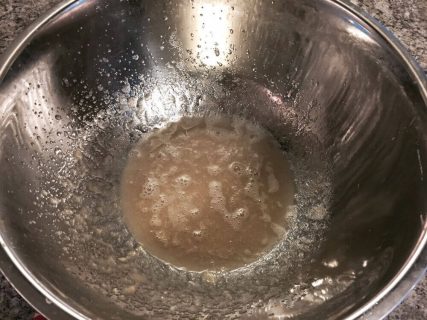
- Combine half the water (3/4 cup) with gelatin in a large mixing bowl. Whisk until just mixed and then let sit.
- Meanwhile, bring remaining half water (3/4 cup) and honey to a boil in a pan on the stove. Watch the temperature, because honey boils over easily. Turn it low once you hit a rolling boil, set a timer for 8 minutes, and stir frequently to prevent burning.
- Prepare two 9x13 dishes with parchment paper (use something like bar pans or casserole dishes - as long as it has a lip on the edge and isn't totally flat like a cookie sheet).
- Slowly pour honey mixture into gelatin, while mixing (I use a hand mixer for this; something like a KitchenAid mixer would be even easier).
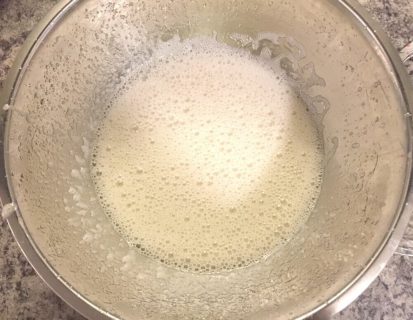
- Once all honey is added in, add vanilla, beet powder and peppermint oil. Do this quickly, because you want to get back to mixing right away.
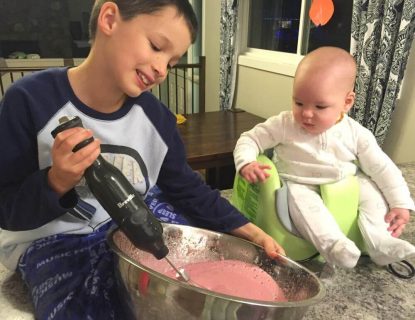
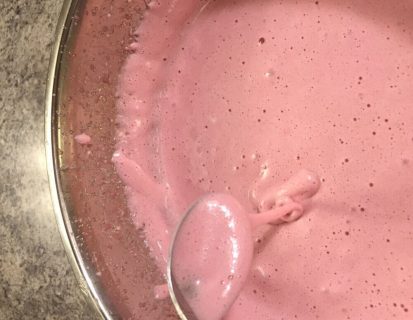
- Continue to mix for 10-15 minutes, just until soft peaks form. Note that if you over mix and get to stiffer peaks, it will be hard to spread out nicely in your pans.
- Pour half of the mixture onto each pan and use a spatula to smooth it out as evenly as possible. Ideally each pan will have a layer of marshmallow about an inch thick. This picture makes it look thicker than it is - it really is only about an inch thick. (And note that I got a bit distracted with kids/photos during this time and did NOT pour mine fast enough, which is why I couldn't get it smooth in the pans. The quicker you get the mixture poured and spread out, the smoother and better it will look.)
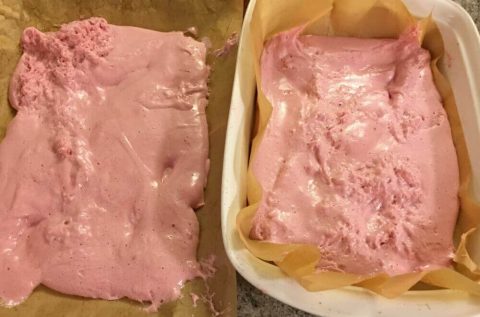
- Let sit at least 4 hours, but overnight is even better.
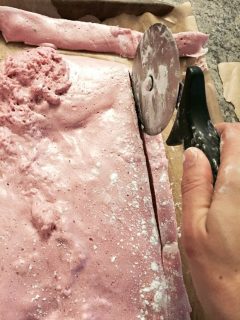
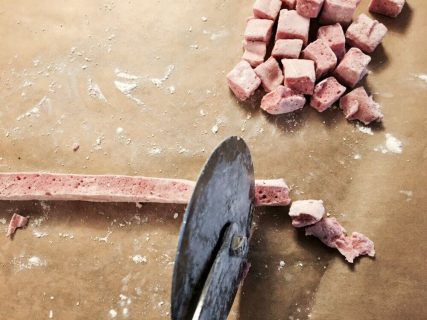
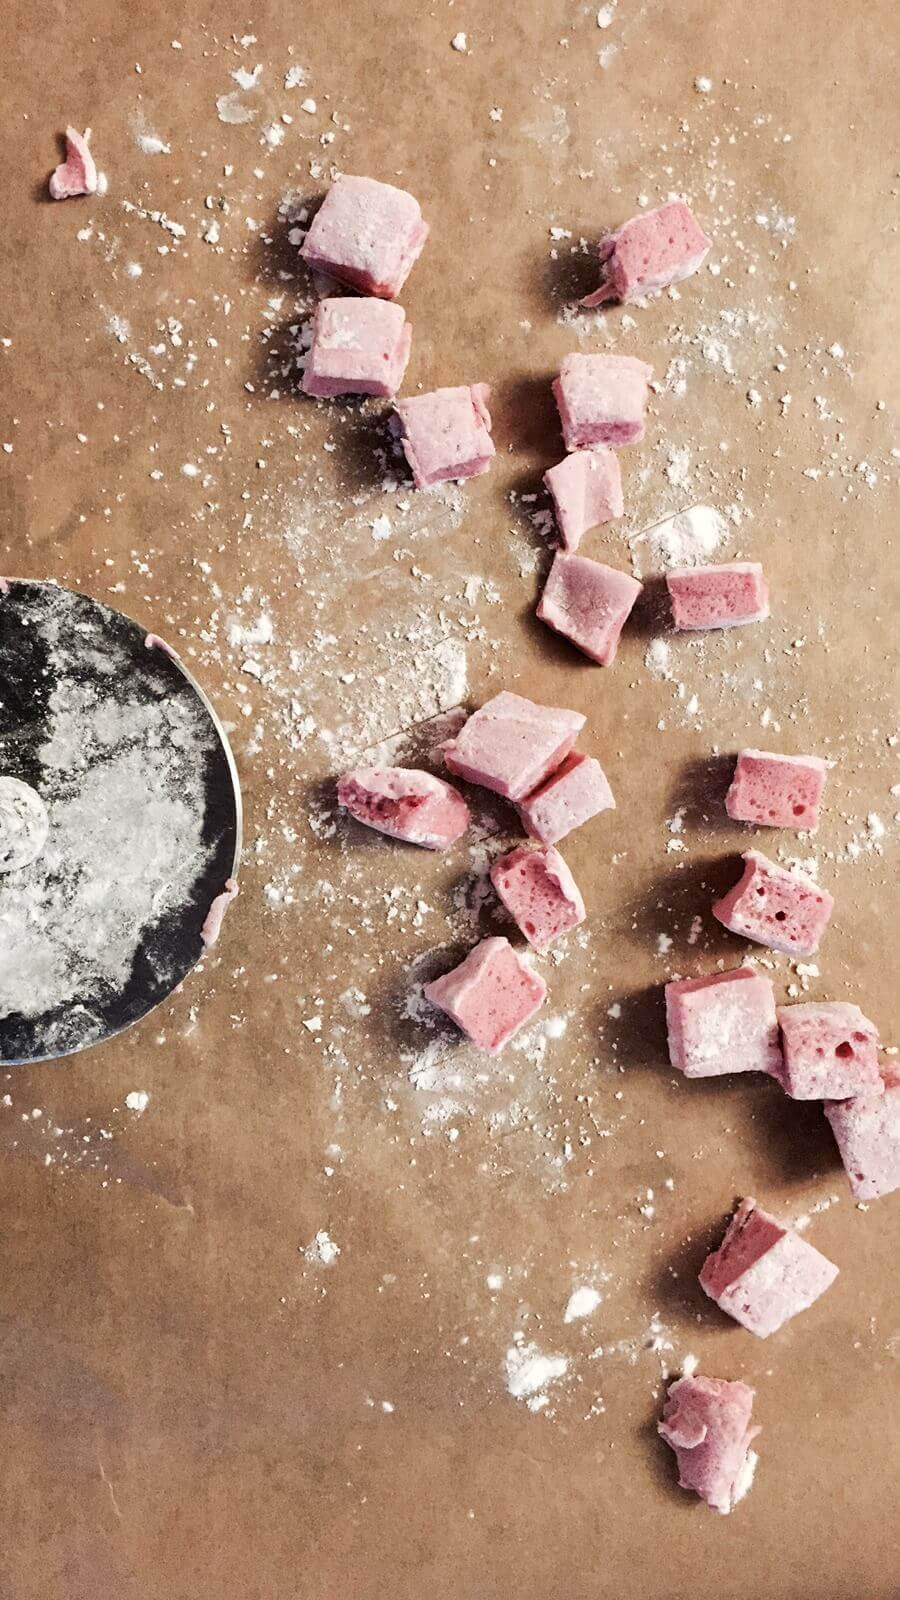
- Use a light dusting of arrowroot or tapioca powder to help you cut. I like using a pizza cutter best. I create long, thin strips, and then put several strips together to slice them into one inch pieces. The powder dusting helps it not stick to your pizza cutter (or knife), and also not stick to each other once in a bowl or bag.
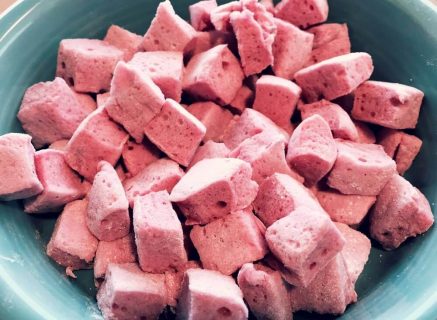
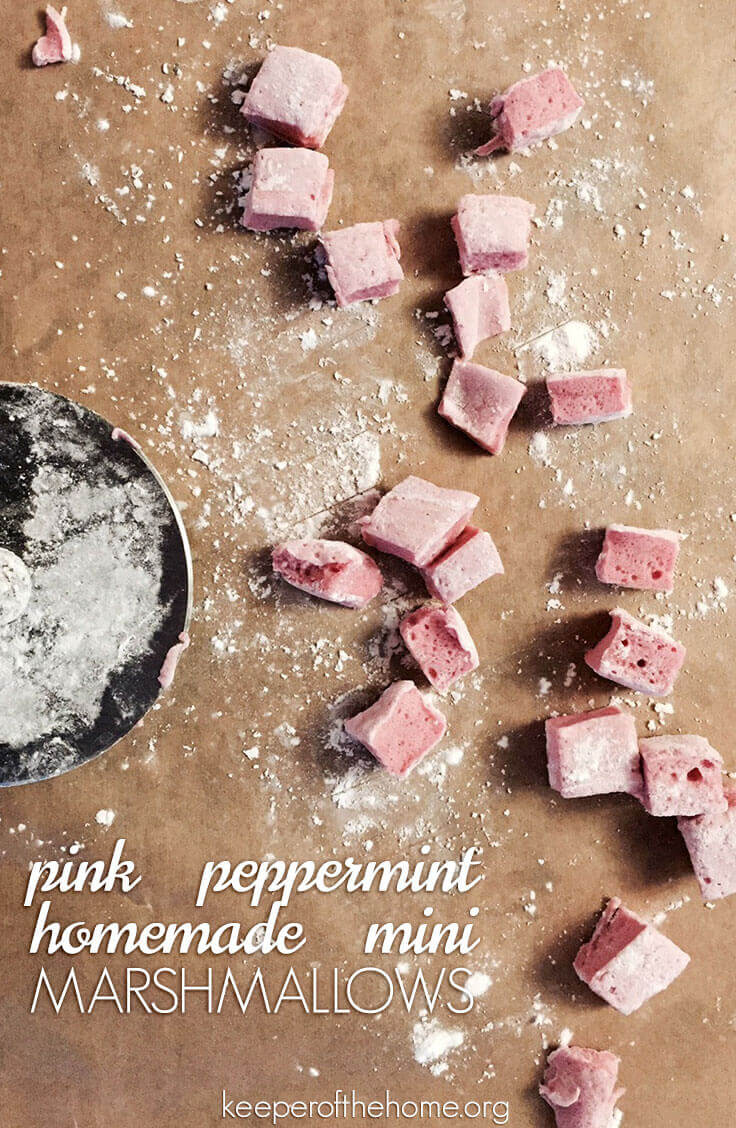
They’re a bit fussy to make really frequently, but as a once-in-a-while treat, especially for the holidays, they’re just perfect. We had so much fun making them and even better, gobbling them up.
If you want a hot cocoa recipe to go with them, this homemade double chocolate mix is perfect for hot chocolate at home or package as a gift, and can be used with either cow’s milk or a milk alternative of your choice for those with allergies.

