How to Make DIY Lotion and Lip Balm
Last summer, I told you how a hard lotion bar helped my eczema, and gave me back my dry hands. More than 6 months later, I still love using my hard lotion bars.
My only problem is that I’m really cheap. These amazing bars aren’t actually expensive but it does still add up. I totally appreciate that Skinny Coconut Oil offers inexpensive jars of coconut oil with numerous discounts. We love that this product is economical and earth-friendly.
But, did you know that you can make your own hard lotion bars even more frugally, with the same great results?
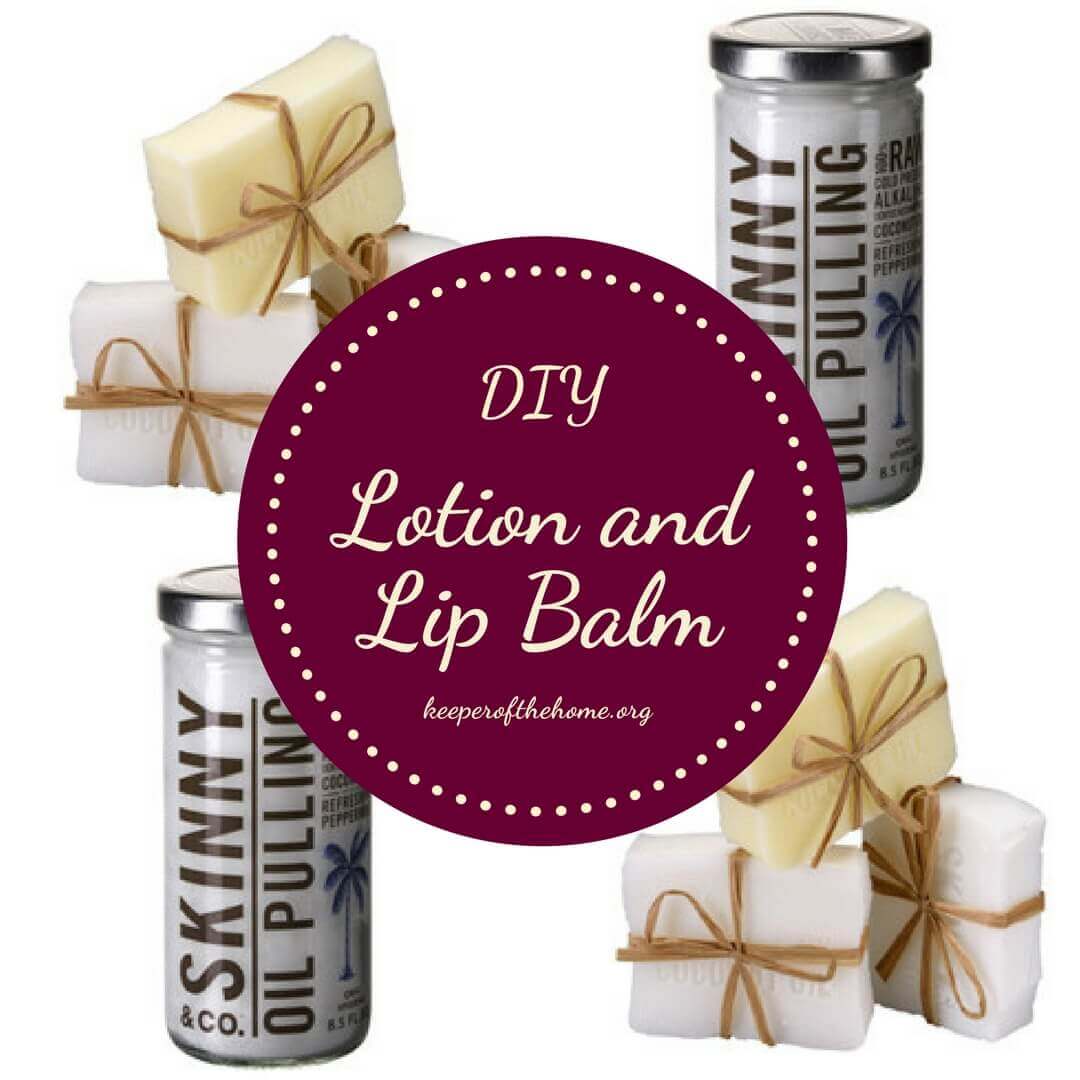
When we started this process, our goal was to see just how easy it really was to make lotion bars that were equally as good as the ones that I usually buy, in our own kitchen, with no special equipment and zero previous lotion-making experience. Follow along to see how we did!
A quick look at the helpful DIY video tutorial made by MadeOn (another favorite place) and a quick read of the instructions, a few sips of tea and we were off…
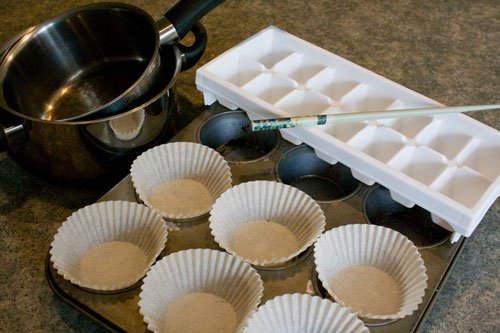
Here’s the equipment we gathered up, in addition to what came from Ann’s Favorites:
- Two pots, to create a double boiler
- Makeshift lotion molds (we chose a muffin tin, using papers because my tin is old and awful, and a plastic ice cube tray, but you could use anything you like)
- A chopstick, to use as a stirring stick
- Some essential oils (which I forgot to take a picture of)- we chose Grapefruit and Orange
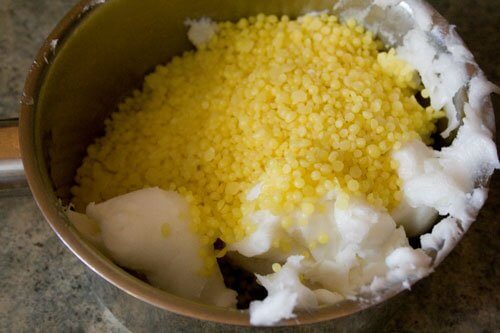
Here are the three oils in the pot before we began to heat things up. Shea butter, coconut oil, and then beeswax granules on the top. Everything was pre-measured so there’s literally no thinking or measuring involved in getting the bars to turn out right.
We did have a hard time squeezing the coconut oil and especially the shea butter out of the plastic packages. Then, as we were cleaning up, I took another look at the instruction sheet and that’s when I saw it, “Freeze shea butter and coconut oil for ease in removing from bags.” Right. This is why we read the instructions.
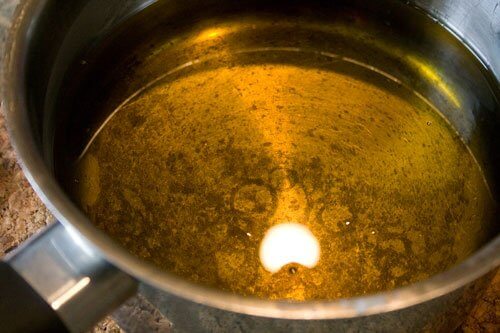
I was so busy stirring and videotaping while we had the double boiler setup that I didn’t get a picture of it, but it was basically just a large pot below, half full of boiling water. Then we used a smaller pot with a long handle to rest over top, and stirred it as the oils melted and melded together. This is what they looked like completely melted.
I timed it and it took about 4 1/2 minutes for everything to melt (keep in mind that my oils weren’t frozen first). Pretty fast!
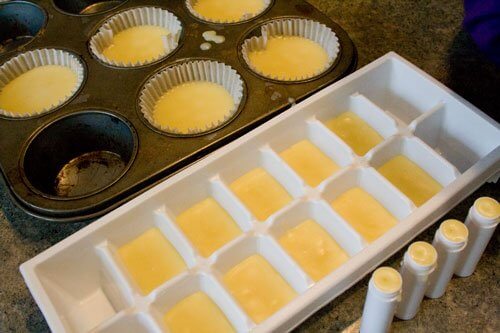
Next, we poured the lotion into the molds. We made the muffin molds with no scent added, simply pouring the melted oil mixture straight in.
For the ice cube tray mold and the lip balms, we added some essential oils. The directions say to use about 10 drops per 2 oz. of lotion (only if you want to- adding the oils is not necessary). Honestly, I’m not one for measuring things very much. I think we could have added a few more drops than we did. Our’s smell nice, but the scent could be more obvious than it is.
After adding the essential oil to the remaining half of the lotion mixture, we just stirred it and poured it straight into the mold.
The lip balms are the only slightly pickier part, and even they were a cinch. The kit comes with a really handy large dropper. Suck up the melted oils, then drop them into the lip balm tubes. Fill each one up about halfway, and then go back to the one you did first if they’ve started to cool a bit, and top them the rest of the way to the top. You can keep dropping them so that the oil is sort of bubbled on the top, but just before it spills over.
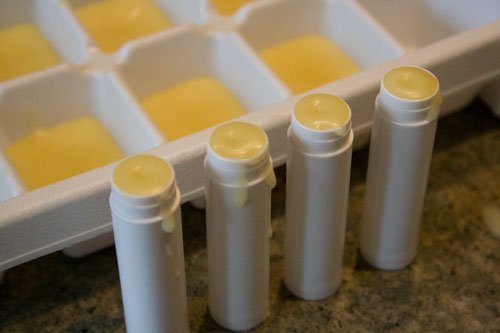
Except that ours did spill over a bit.
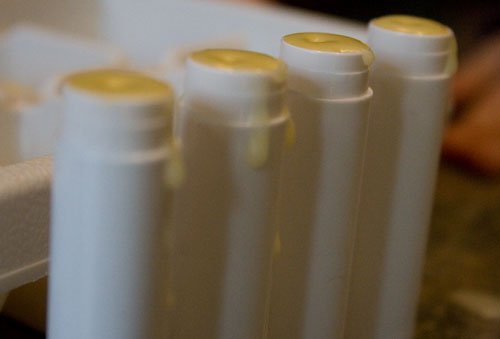
It was easy to just wipe off the excess once it dried with my fingers and a tea towel.
We put the other molds in the fridge/freezer (our freeze is too narrow for the muffin tin) for just a couple of minutes, to help things solidify quicker and so that we could get them out easily. It worked. Everything just popped right out of the molds and turned out great.
Except that our larger lotions look like Pac-Man cupcakes. I think it adds character. Don’t you agree?
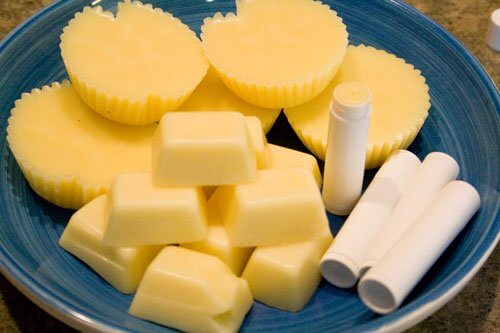
The final result! In less than 40 minutes, start to finish (while filming and taking pictures to document it all), we made 13 oz. of lotion bars and lip balms.
Abbie and I both tried them out and thought they were just as good as the ones we bought. Who knew how easy it would be?
I definitely give the DIY Lotion and Lip Balm a “2 thumbs up” review. We had a blast doing it together (a fun mother-daughter activity), in the words of Abbie it was “easy-peasy”, and it’s very cost-effective. The materials are inexpensive, and makes the equivalent of $55 of lotions and balms (that’s if you bought them in refill packs, the cheapest option, otherwise it would be $70 of product).

Oh, this looks just perfect for a certain nine year old and her mama that I know 🙂 Thanks for telling us about this and showing us how easy it was to make. Looks like fun!
Best wishes!
AweSOME! I would love to try this! One question – how do you store the lotion after you’ve made it?
I have this same question! How did you store your lotion once you made it?
I am sold. I just clicked over and bought a DIY kit. Thank you for the great review! I have been reading a lot about her products and wanted to try them, but have been heming and hawing because A) I too am cheap B) I have been thinking “I can do that myself”. Well this solved both dilemmas:-) Ha!
I second the question about storage. Also, did the kit happen to say how long they are “good” for? Did you add vitamin E for preservative?
Great post! I just ordered my first bar of hard lotion to give it a try, and it should be here any day. I was curious about how it would be to try to make it myself if I like it, so I really appreciate hearing about your experience.
I buy mine @ Jordan Essentials they are handmade as well and they are cheap @ only $7.50 so I decided to join the company but I did think about making my own maybe I should try to
I made some bars for Christmas using the recipe posted on their site, and I love them. I think it is awesome that they now sell the kits with everything measured out for you. What a fun way to save some money!
I’ve been meaning to try out making my own and haven’t gotten around to it. This kit looks great for a first try! If it goes well, then maybe I’d probably buy the items separately in bulk to get them cheaper.
What an awesome project! These would make great homemade gifts too! Thanks for the ideas and the great review.
Before Christmas, I bought some shea butter and beeswax specifically to make hard lotion bars. I already have the coconut oil and essential oils. I haven’t made time to do it yet but now that I’ve seen just how easy it is, I guess it’s time. I have some bar soap molds and a silicone muffin mold just for this purpose. Thanks!
Wow, that’s an awesome deal! I love making my own bath and beauty products. Right now I’m trying to track down a good pot so I can make my own soap! Thanks for sharing :).
We made the chapstick for my 6 year olds crafting birthday party. It was so much fun and all the little girls were excited to have made their own chapstick. I love to be able to do it myself every once in awhile!! 🙂
Thanks for posting this — I love that you figured out the savings! I link your post to one I wrote last month here: http://holesinmyshinyveneer.blogspot.com/2011/02/hard-lotion-you-gotta-try-this.html
What fun!
I made the lotion bars for Christmas from the instructions of her website. They were lovely. Everyone was so happy with them and some have asked for more.
It really is easy and also of fun too.
Wow! How fantastic!!! I just love how you did that! Thank you for sharing the procedure!
Warmly,
Katy 🙂
Wow that looks great! Do you have to scent it?
I laughed about the Pac-man shapes. Is Pac-man still around? I had one of those games as a kid…
Your muffin tin looks exactly like mine LOL so I have to use papers too.
@Nola, Nope, you don’t have to scent it. It’s just something that you can do, if you want to. Personally, I think it smells really nice just as it is, because I love the smell of beeswax.
For molds, I use recycled empty plastic containers that originally contained applesauce in the single serving size, comes with foil on top. We get those apple sauce containers in our children’s meals at Culver’s, yummy restaurant, instead of fries. That way I don’t have to use a muffin tin, plus the plastic container makes a nice place to keep the lotion in between uses.
To prevent the lip balm tubes from tipping over, put a rubber band around them to help them to stand up.
I add lavender essential oil, it smells good plus it helps eczema. I buy my essential oil from, http://www.morethanalive.com/?a_aid=837c265b plus FREE shipping on order over $99 🙂
I love hard lotions. They are much less ‘messier’ than ordinary lotion. Thanks for the guide and the great photos!
Thanks so much for sharing this great idea! I also suffer from eczema on my hands. This time of year it is really bad! My hands are so dry & this is just what I need to help them feel so much better! My girls & I will love making theese for ourselves & as Christmas gifts! =)
Such a sweet project for mother and daughter! I’ve been reading your reviews on lotion bars and think I may need to give them a try – using them AND making some of my own! Thanks for sharing :).
-Tara
Great to know it is easy, when think about how much I spend on stuff and then see how easy it really is….oh the kit sounds GREAT. I just bought stuff for body butter, Excited to try that first, then my Dad is a beekeeper and he makes lip balm and skin balm too. GREAT details on the process, love it.
How have the lip balms worked?
I want to make my own and am curious about purchasing the beeswax granules. Are there certain things to be on guard about and not purchase. Do you recommend a particular site/brand to purchase?
Hi Stephanie, I was looking for ideas about making lotions and balms and read your post. Your “recipe” sounds yummy for the skin! Do you know what could be added to the lotion and balms as a sunblock? Thanks so much.